

How to Make Custard Filling
 This post may contain affiliate links.
I’ve always loved the kind of custard filling that’s rich yet light, the kind that oozes slightly when you tear into fresh bread. This one’s made from scratch with just milk, eggs, sugar, and vanilla, but it feels extra special.
A Quick Look at the Recipe
🏷️ Recipe Name: Custard Filling
⏱️ Ready In: ~ 10 minutes
🍽️ Serves: 250 grams
🔥 Calories: 200 kcal per 100 grams (estimate)
🧾 Main Ingredients: Egg yolks, sugar, milk, cake flour, butter, vanilla extract (optional).
🥗 Dietary Info: Contains dairy
🧠 Difficulty: Very easy
Have a question? Ask AI!
If you’ve never made custard filling from scratch before, don’t worry. It’s surprisingly easy. With just milk, eggs, sugar, and cornstarch, you’ll get that creamy, bakery-style custard that turns ordinary bread into something unforgettable.
What I love most about making custard filling at home is that you can control the sweetness and texture. You can have it thicker for doughnuts, slightly softer for layered cakes, or silky for pastries. Once you’ve mastered this simple version, you can use it in many of your favorite bakes like Pumpkin Bread or Pandan Milk Bread.
I often use this custard filling for my Japanese Milk Bread, Roti Sisir, and even Chocolate Dorayaki. It’s smooth, lightly sweet, and rich without being heavy.
Why You Will Love This Recipe
Recipe Ingredients

Ingredient Notes
Cake flour or cornstarch – Both work perfectly to thicken your custard filling. Use cake flour for a softer, custardy texture or cornstarch for a gluten-free version that’s a bit lighter and silkier.
Vanilla extract (optional) – For a classic vanilla custard filling, add a touch of vanilla extract or scrape a vanilla bean for a deeper flavor. You can skip it if you prefer a plain or flavored variation (like pandan or chocolate).
Butter – Adds smoothness and a light sheen, making your homemade custard filling rich and luscious.
Be sure to check out the full recipe and ingredient list below
Substitutions & Variations
Chocolate custard filling – Stir in 1–2 tablespoons of cocoa powder (or melted dark chocolate) after the custard thickens.
Pandan custard filling – Add a few drops of pandan extract or 1 teaspoon of homemade pandan extract for a fragrant pandan custard filling.
Light chantilly-style custard cream – Once your custard filling has cooled completely, fold it gently into whipped heavy cream. This creates a soft, airy custard chantilly cream that’s perfect for éclairs, cream puffs, or choux pastries.
How to Make Custard Filling

STEP 1. In a bowl, whisk together the egg yolks, sugar, and vanilla extract until the sugar is dissolved and the mixture turns pale and slightly thickened (Images 1, 2). Sift in the flour (or cornstarch) and whisk again until smooth with no lumps (Images 3, 4).

STEP 2. Slowly pour in the milk while whisking to combine (Images 5, 6, 7). Strain the mixture into a saucepan to ensure a smooth, lump-free custard base (Image 8).

STEP 3. Place the pan over low to medium heat (Image 9). Stir constantly with a whisk or spatula, making sure to scrape the sides and bottom so it doesn’t burn. Once the mixture begins to thicken, add the butter (Image 10). Keep stirring until it becomes smooth and glossy (Image 11).
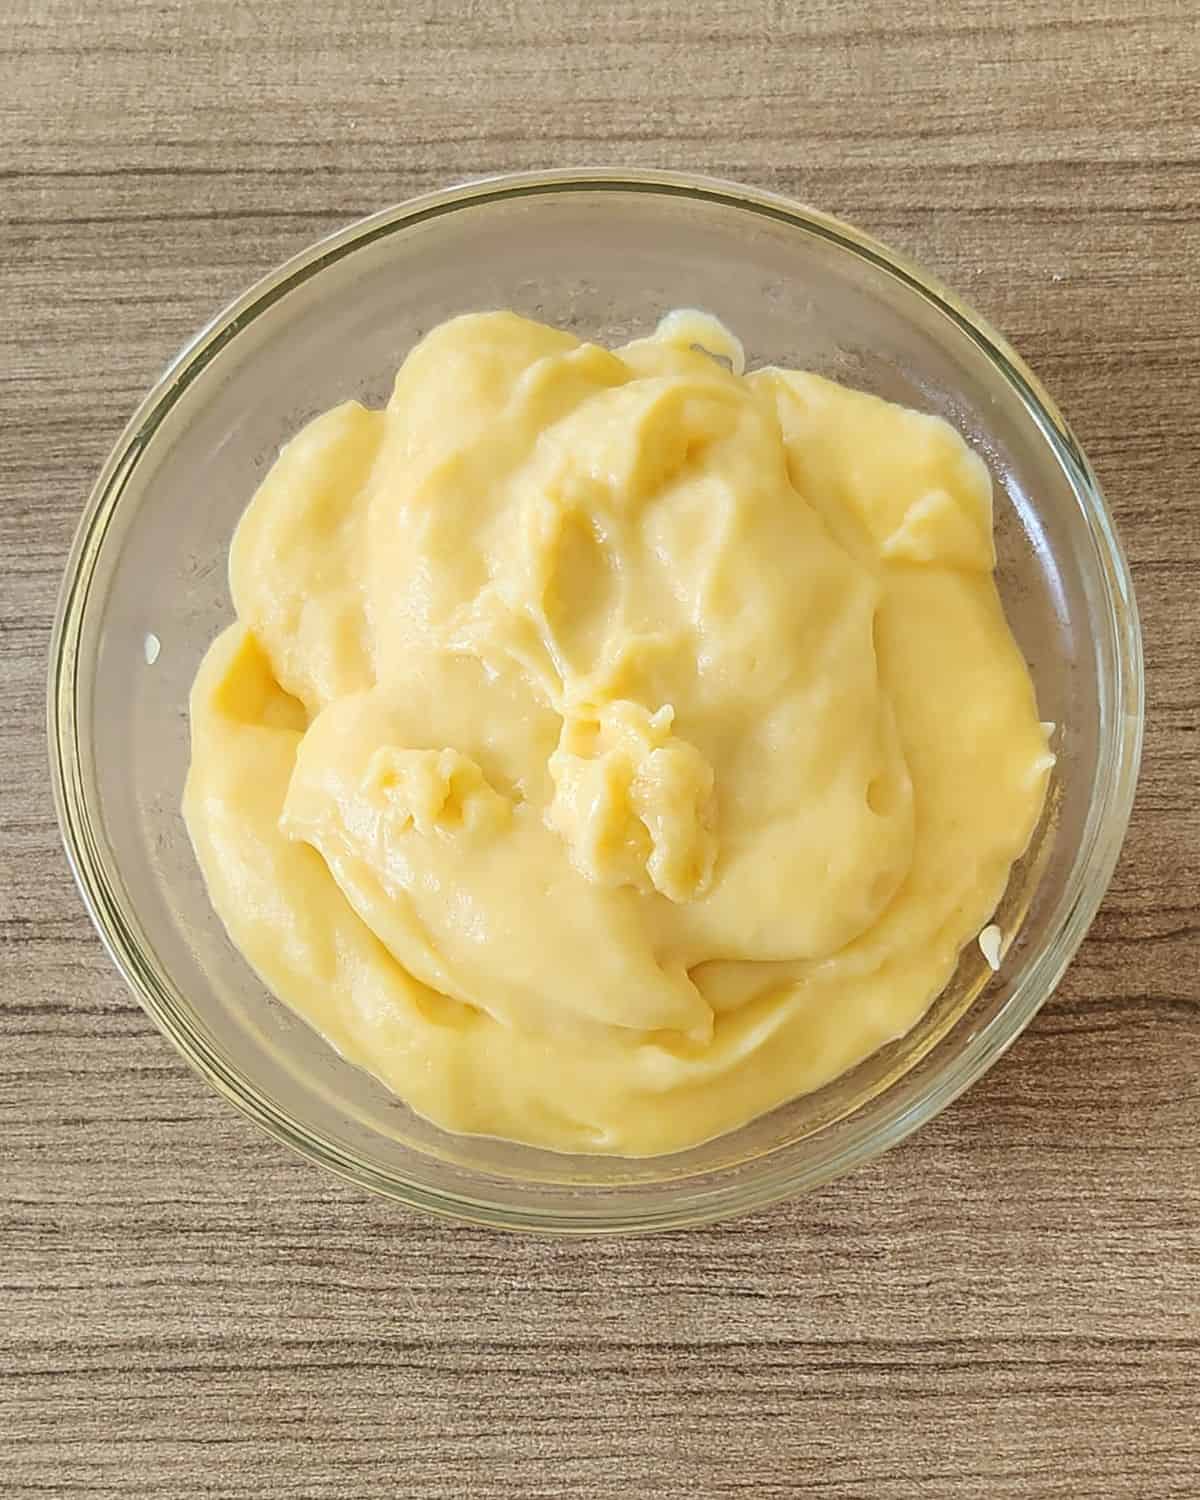
STEP 4. Transfer the cooked custard filling into a clean bowl (Image 12). Cover the surface directly with plastic wrap to prevent a skin from forming. Let it cool to room temperature, then refrigerate until chilled. Your creamy, silky custard filling is ready to use!
Pro Tips
- Stir constantly – Custard thickens fast once it heats up, so keep whisking gently. This prevents lumps and keeps your custard smooth and silky.
- Use low to medium heat – Don’t rush the process, high heat can make the eggs scramble or cause curdling. Slow and steady wins the custard race.
- Strain before cooking – Sifting the mixture before it goes into the pan ensures a lump-free, smooth filling every time.
- Watch the thickness – The custard should coat the back of a spoon, not run off too quickly. If it’s too runny, cook it a little longer while stirring.
- Cover it right – When chilling, press plastic wrap directly against the surface of the custard. This prevents a skin from forming and keeps it smooth.
- To fix lumpy custard – If it thickens too quickly and forms lumps, remove from heat immediately and whisk vigorously. You can also strain it through a fine sieve while still warm.
- For extra shine and richness – Stir in a small knob of butter after cooking. It makes the custard filling glossy and even creamier.
How to Use Custard Filling
This creamy custard filling is incredibly versatile. Once you’ve made a batch, there are endless ways to enjoy it.
- Fill soft breads like Roti Sisir Pandan. Spread it on Japanese Milk Hearth Bread, Melon Pan, or Chocolate Milk Hearth Bread for a bakery-style treat.
- Pipe it into Chocolate Dorayaki or doughnuts for a rich, creamy center.
- Spread it between cake layers or use it as a filling for sponge rolls or cupcakes.
- Spoon over fruit like mango, banana, or strawberries for an instant dessert.
- Whip it with cream to make a light chantilly-style cream for éclairs and choux pastries.
Custard Filling FAQs
It usually means it wasn’t cooked long enough. Keep stirring over low heat until the custard coats the back of a spoon. It will also thicken more as it cools.
The heat was too high or the mixture wasn’t stirred constantly. Always cook your custard filling slowly over gentle heat and whisk continuously.
Yes! You can use cake flour instead. It gives a softer, creamier texture, while cornstarch makes it lighter and gluten-free.
Remove it from the heat right away and whisk briskly. You can also strain it through a fine sieve while it’s still warm to make it silky again.

Storage
Let the custard filling cool completely, then transfer it to an airtight container. Press plastic wrap directly on the surface to prevent a skin from forming.
Refrigerate for up to 3–4 days. Before using, stir or whisk until smooth again.
Avoid freezing, it can turn watery after thawing.
More Spread & Filling Recipes
You can find more homemade jams and dessert fillings in my Homemade Jam Recipes, Sweet Spreads & Fillings roundup.

Custard Filling
Ingredients
- 2 egg yolks
- 35 gr sugar
- 13 gr cake flour cornstarch
- 160 gr milk
- 10 gr butter
- ½ tsp vanilla extract
Instructions
- In a bowl, whisk together the egg yolks, sugar, and vanilla extract until the sugar is dissolved and the mixture turns pale and slightly thickened. Sift in the flour (or cornstarch) and whisk again until smooth with no lumps.
- Slowly pour in the milk while whisking to combine. Strain the mixture into a saucepan to ensure a smooth, lump-free custard base.
- Place the pan over low to medium heat. Stir constantly with a whisk or spatula, making sure to scrape the sides and bottom so it doesn’t burn. Once the mixture begins to thicken, add the butter. Keep stirring until it becomes smooth and glossy.
- Transfer the cooked custard filling into a clean bowl. Cover the surface directly with plastic wrap to prevent a skin from forming. Let it cool to room temperature, then refrigerate until chilled. Your creamy, silky custard filling is ready to use!
Notes
- Stir constantly – Custard thickens fast once it heats up, so keep whisking gently. This prevents lumps and keeps your custard smooth and silky.
- Use low to medium heat – Don’t rush the process, high heat can make the eggs scramble or cause curdling. Slow and steady wins the custard race.
- Strain before cooking – Sifting the mixture before it goes into the pan ensures a lump-free, smooth filling every time.
- Watch the thickness – The custard should coat the back of a spoon, not run off too quickly. If it’s too runny, cook it a little longer while stirring.
- Cover it right – When chilling, press plastic wrap directly against the surface of the custard. This prevents a skin from forming and keeps it smooth.
- To fix lumpy custard – If it thickens too quickly and forms lumps, remove from heat immediately and whisk vigorously. You can also strain it through a fine sieve while still warm.
- For extra shine and richness – Stir in a small knob of butter after cooking. It makes the custard filling glossy and even creamier.


This is my go-to custard filling. It’s light, creamy, and not too sweet. It’s perfect for stuffing soft breads, doughnuts, or pastries. Once you’ve tried making it from scratch, you’ll never go back to store-bought!
Your recipe does not include the amount for the vanilla that I can see. Please help
Hi Jaemi! I edited the recipe. Thank you for letting me know. 😀