
Pineapple Filling for Cakes and Tarts
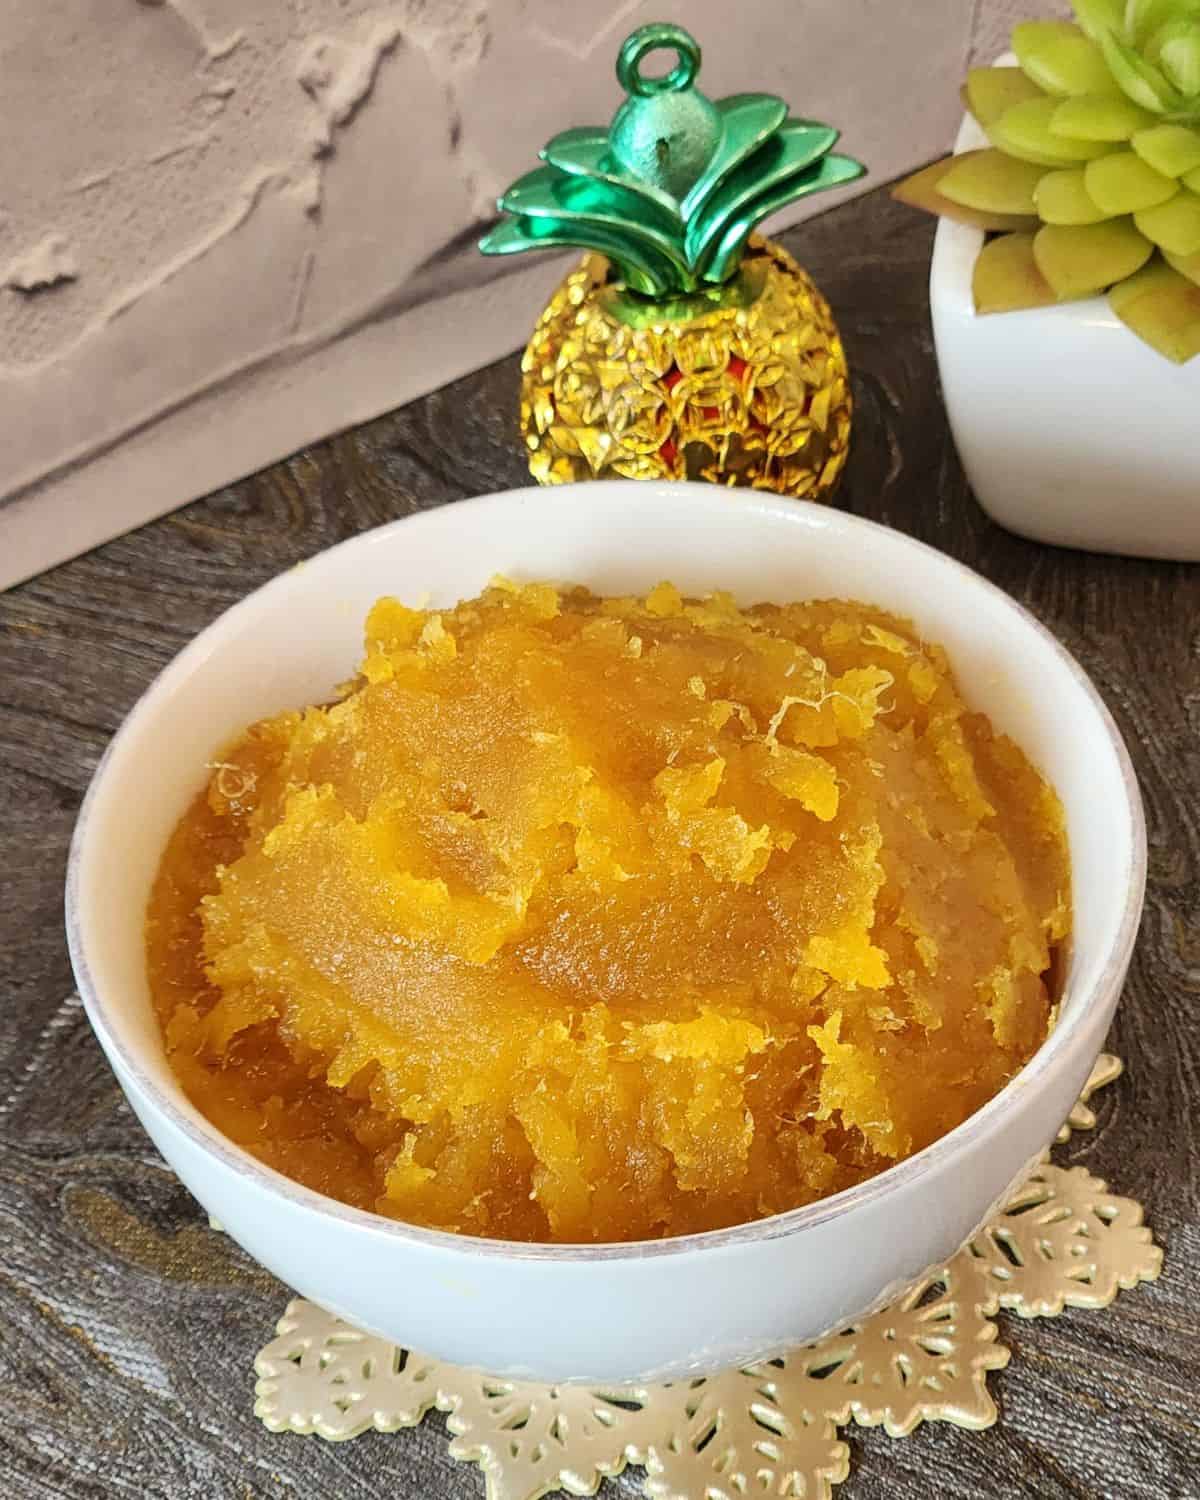
Here is my homemade pineapple cake filling, thick, jammy, and bursting with real pineapple flavor. Sweet, tangy, and naturally fragrant with a beautiful golden color, it’s the perfect filling for cakes, tarts, cookies, and so much more.
Homemade pineapple cake filling is one of those kitchen treasures that instantly makes your pastries taste special. Thick, jammy, and naturally fragrant, it works beautifully as both a traditional pineapple filling and a homemade pineapple jam. It’s the essential base for Taiwanese pineapple cakes, nastar (pineapple tarts), and many other Asian treats. You can even use it like a jam to glue together layers of lapis surabaya.
This filling does take a bit of time to cook down, but the slow process is what brings out its deep flavor and gorgeous aroma. Every minute is worth it once you taste that rich, caramelized sweetness made from real pineapple, not the overly sugary canned versions.
I’ll walk you through the simple technique to achieve that beautiful golden color and perfect texture, the kind that holds its shape for cookies but still stays soft and spreadable for cakes. Once you try making it at home, you’ll never want to go back to store-bought again.
Why You Will Love This Recipe
Recipe Ingredients
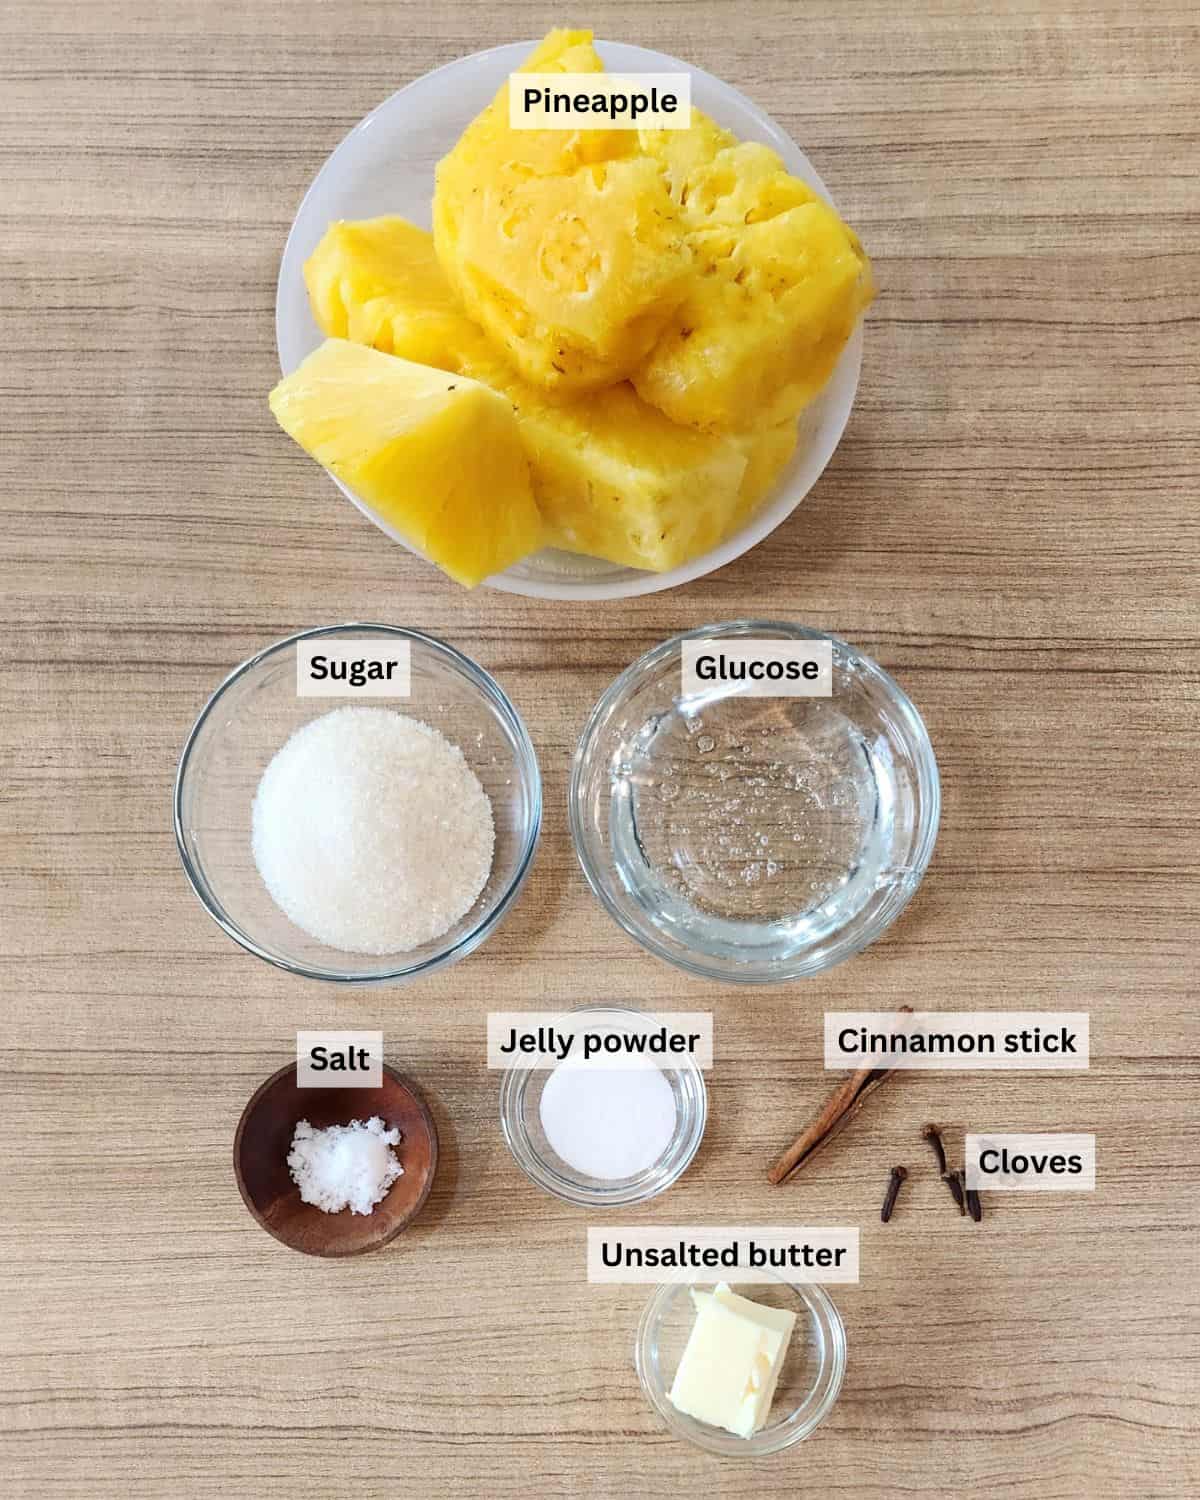
Ingredient Notes
Pineapple – Use fresh ripe pineapple for the best flavor. Don’t discard the core, it contains natural fiber that helps the filling cook down into a thicker, more structured texture. Process the pineapple in a food processor, so it cooks evenly and caramelizes beautifully.
Jelly powder – A small amount of jelly powder gives the filling a slightly chewy, jam-like texture that holds its shape well in cookies and pastries. It helps the filling stay firm enough for nastar or pineapple cakes without becoming dry or stiff.
Cinnamon stick & cloves (optional) – These aromatic spices give the filling its traditional warm, fragrant flavor. Cinnamon adds sweetness and depth, while cloves bring a subtle floral warmth that pairs perfectly with pineapple. They make the filling taste authentic and extra cozy.
Glucose syrup – Glucose helps create a glossy finish and prevents the pineapple filling from turning hard or crystallizing as it cools. It keeps the texture soft, smooth, and spreadable, especially after refrigeration.
How to Make Pineapple Cake Filling
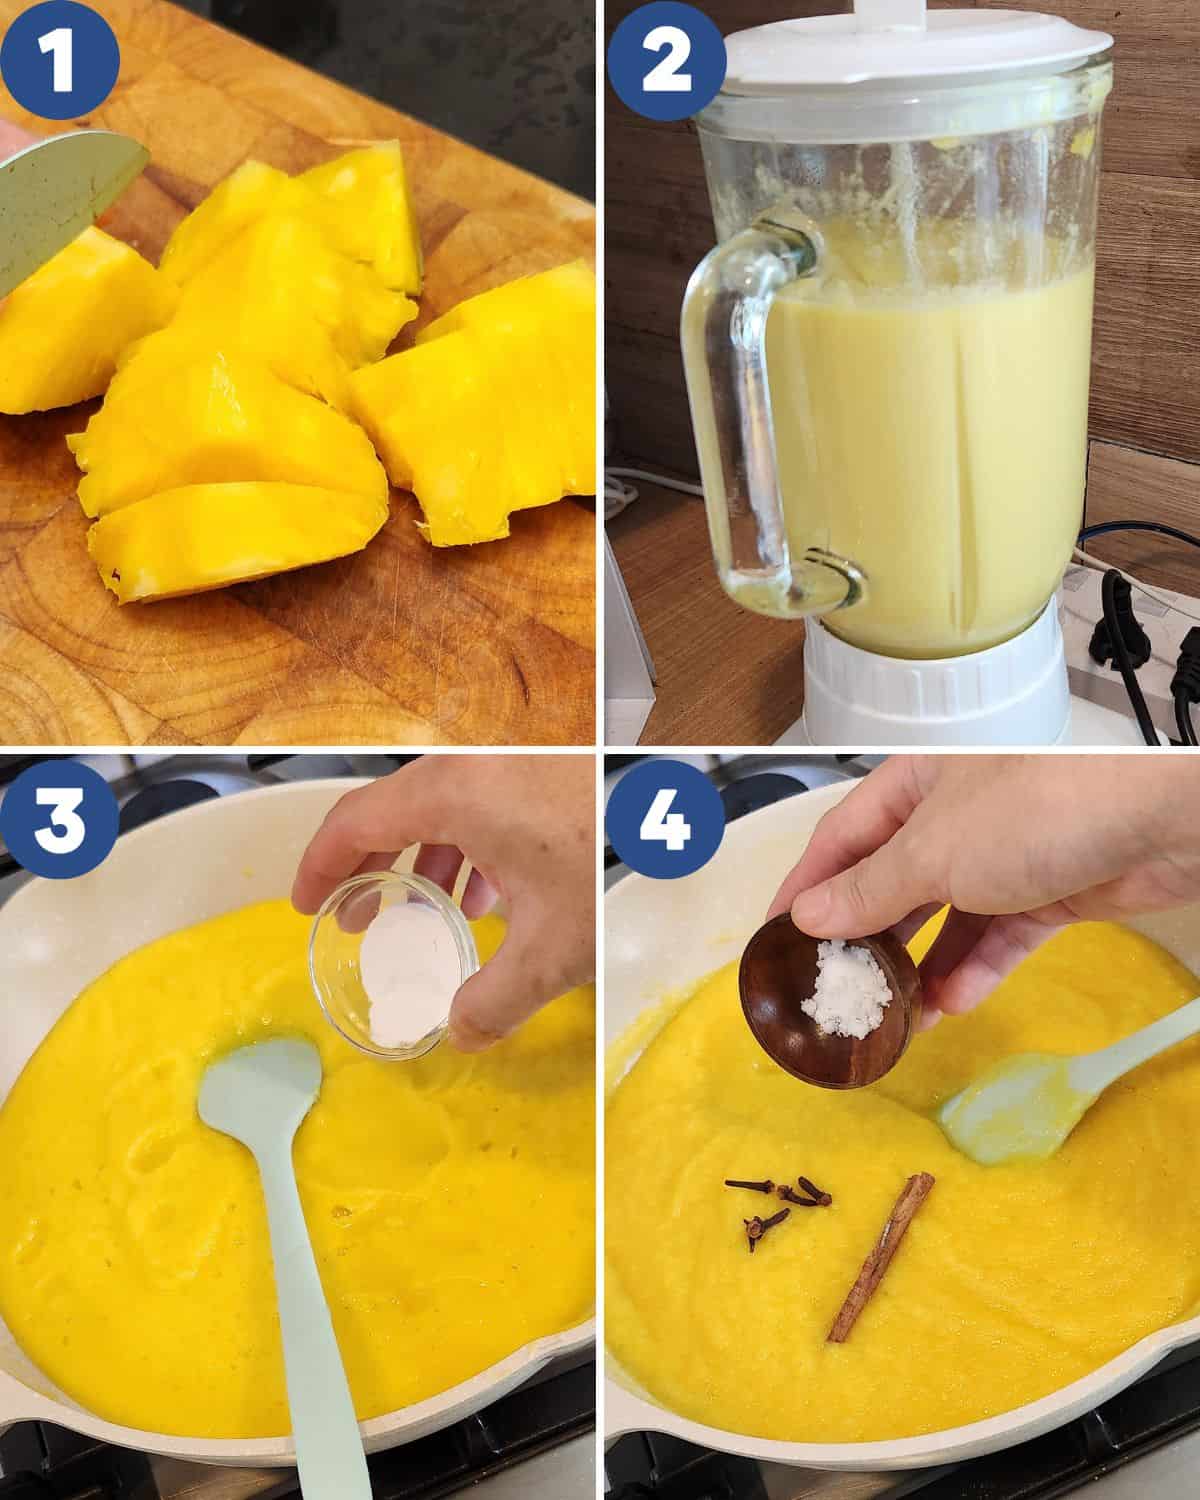
STEP 1. Cut the pineapple into smaller chunks , don’t discard the core, as it adds natural fiber to help thicken the filling (Image 1). Blend the pineapple until smooth (Image 2), then transfer it to a wok. Add the jelly powder and stir until dissolved (Image 3). Turn the heat to low and add the cinnamon stick and cloves for aroma (Image 4).
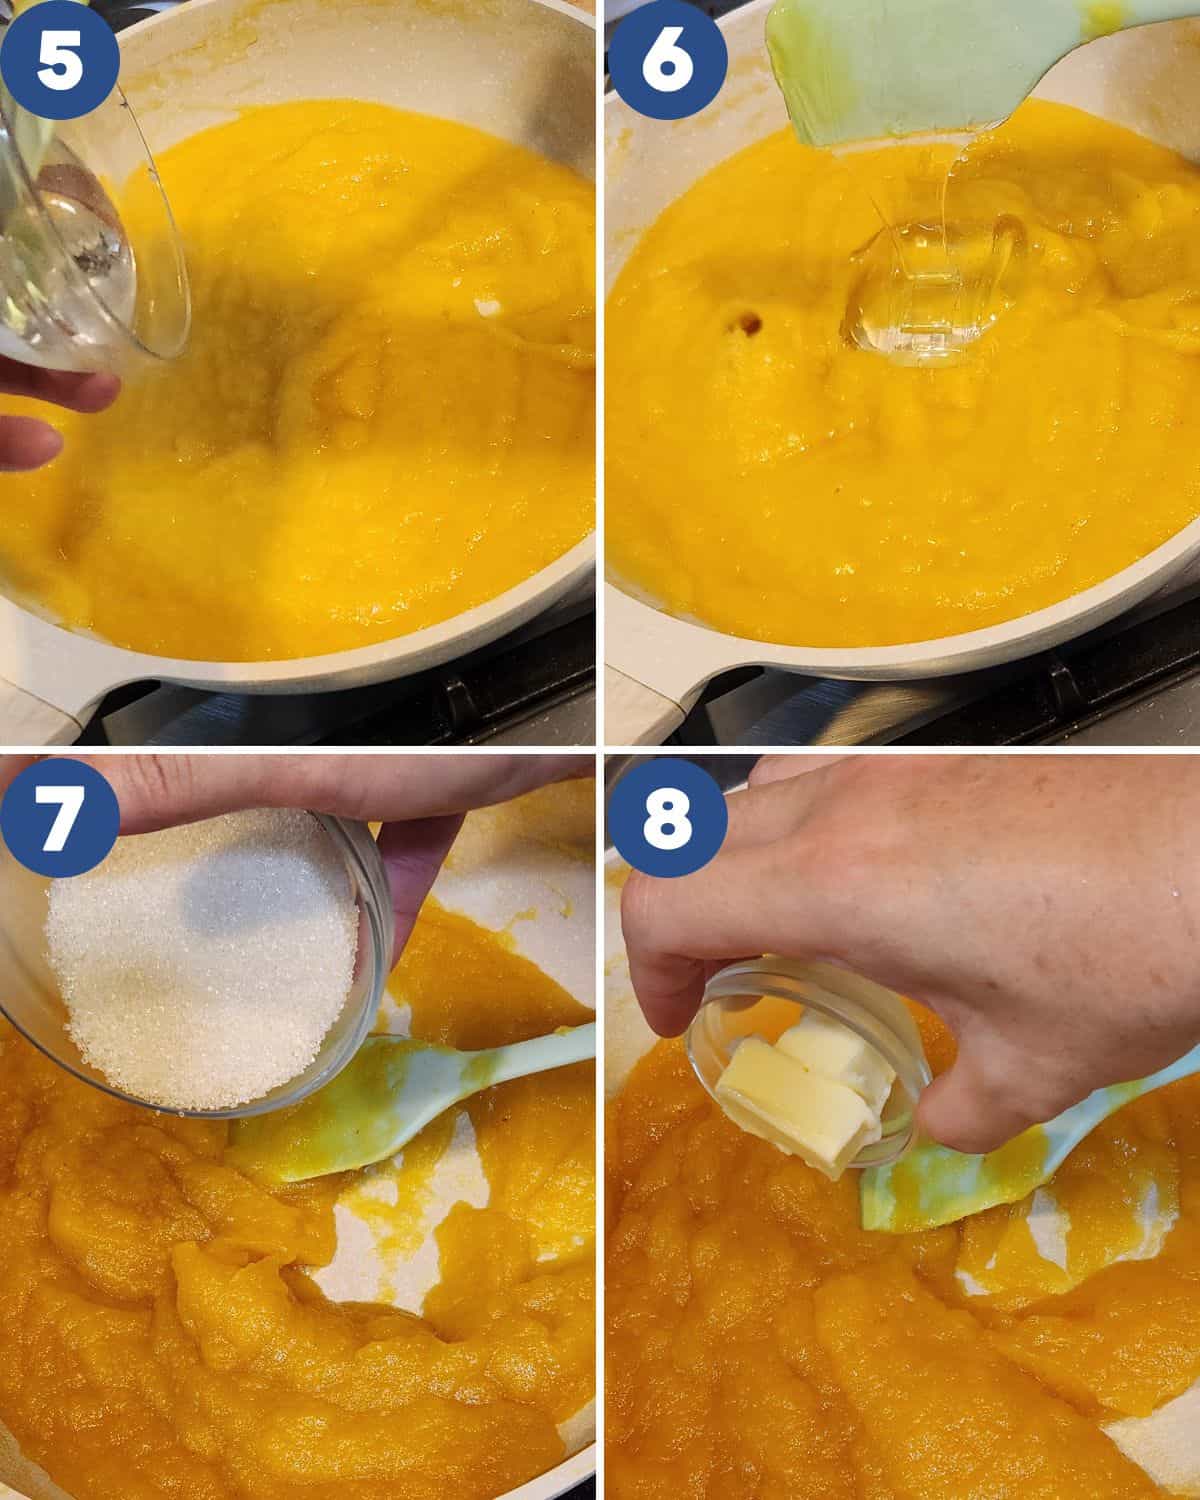
STEP 2. Keep stirring with a spatula as the mixture cooks down. Adjust the heat as needed; if it splashes, simply lower the flame. Once you see the liquid begin to evaporate, add the glucose syrup (Images 5, 6). Continue cooking until the filling looks drier, then add the sugar. Adding sugar toward the end helps maintain the filling’s bright golden color (Image 7). Finally, add the butter and stir until fully incorporated (Image 8).
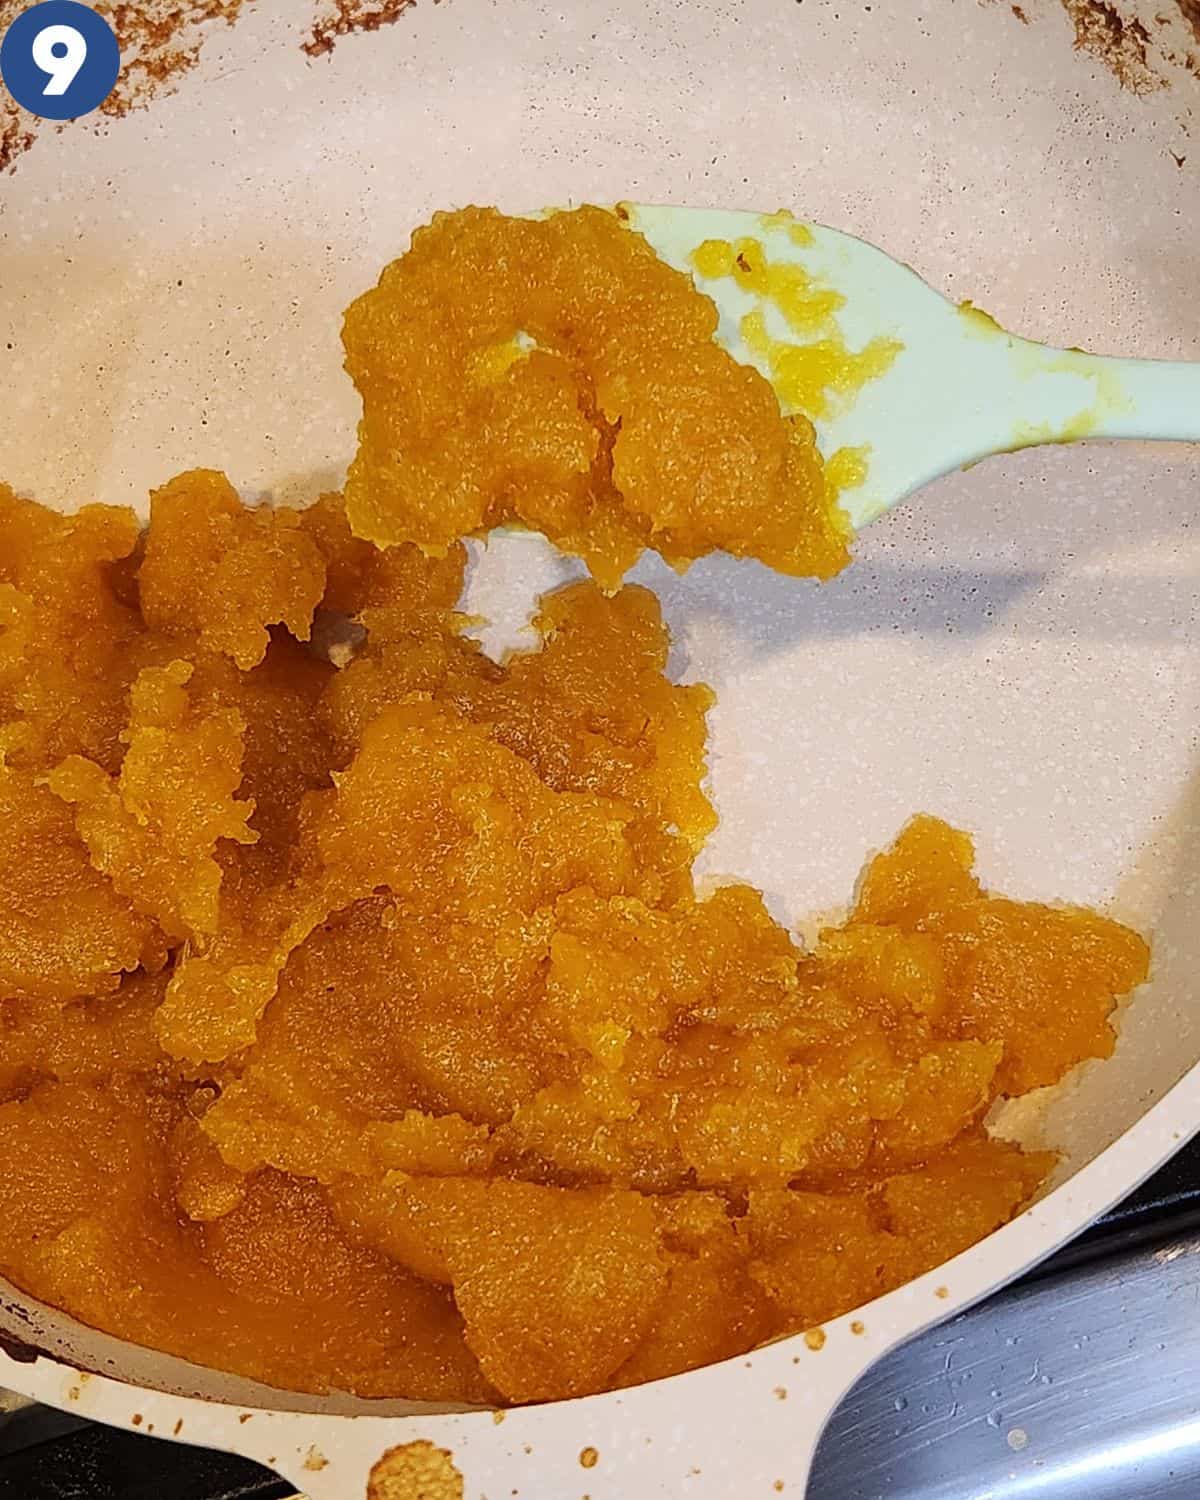
STEP 3. When the mixture becomes thick, clumpy, and you can clearly see the pineapple fibers, the filling is ready. At this stage, it should pull away from the pan easily and look almost dry (Image 9). Turn off the heat.
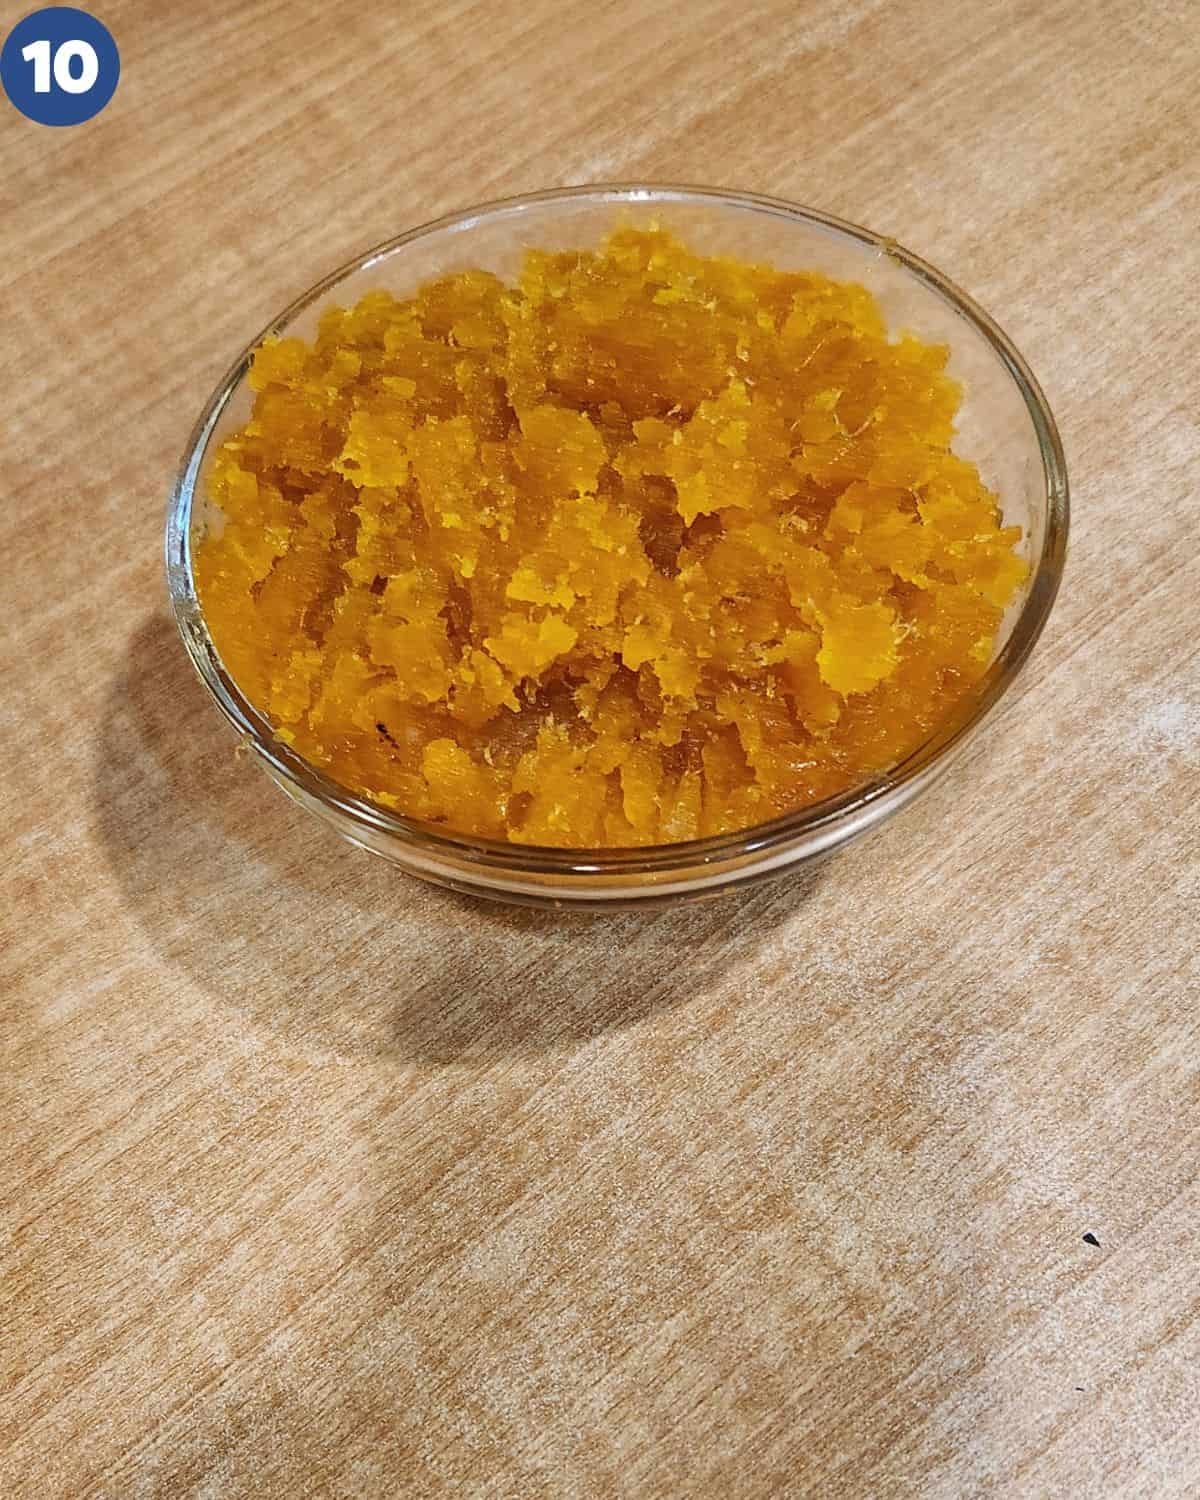
STEP 4. Let the pineapple cake filling cool completely before transferring it to a clean, dry container. Once cooled, it will firm up into a jammy, scoopable consistency perfect for baking (Image 10).
Pro Tips
- Keep the heat low and steady – Pineapple splashes easily when heated. Stir on low heat, and adjust only when needed to prevent burning or splattering.
- Don’t skip the pineapple core – The core contains natural fiber that thickens the filling beautifully without needing extra starch.
- Add sugar at the end – Adding sugar too early can darken the mixture. Stirring it in at the final stage keeps the filling’s signature bright golden color.
- Use a wide, shallow pan – A wok or wide skillet allows moisture to evaporate faster, cutting down cooking time and helping the filling caramelize evenly.
- Don’t walk away – This filling transforms quickly during the final stage. Stay close and stir frequently so it doesn’t catch at the bottom.
- Adjust sweetness based on the pineapple – Every pineapple has different acidity. Taste before adding the full amount of sugar and adjust as needed.
- Cook until it holds its shape – The filling is ready when it pulls away from the pan and looks thick, fibrous, and almost dry. This is the ideal texture for nastar and pineapple cakes.
FAQs about Pineapple Cake Filling
Ripe, sweet pineapples are ideal because they reduce faster and give a naturally caramelized flavor. Avoid pineapples that are too sour, or the filling will require more sugar to balance.
It likely needs more cooking time. Continue stirring on low heat until most of the moisture evaporates and the mixture becomes thick and fibrous.
This usually happens when sugar is added too early or the heat is too high. Add sugar near the end and keep the heat low to maintain a bright golden color.
Fresh tastes best, but canned pineapple can be used in a pinch. Just drain well and reduce the sugar slightly since canned fruit is often sweeter.
It should pull away from the pan, look almost dry, and form soft clumps. You should also see visible pineapple fibers.
Yes. Cinnamon and cloves are traditional and add warmth, but you can skip them for a plain pineapple jam flavor.
You can use honey or corn syrup as a substitute, but the texture may not be as glossy or smooth.
Storage
• Refrigerate – Store the cooled pineapple cake filling in an airtight container and refrigerate for up to 2–3 weeks.
• Freeze – For long-term storage, freeze in smaller portions for up to 2 months. Thaw in the fridge before using.
• Avoid condensation – Always cool completely before sealing. Trapped steam can make the filling watery.
How to Use This Pineapple Cake Filling
This versatile filling is perfect for a variety of desserts:
- Taiwanese Pineapple Cake – shape into cubes or small portions for a buttery shortcake-style pastry.
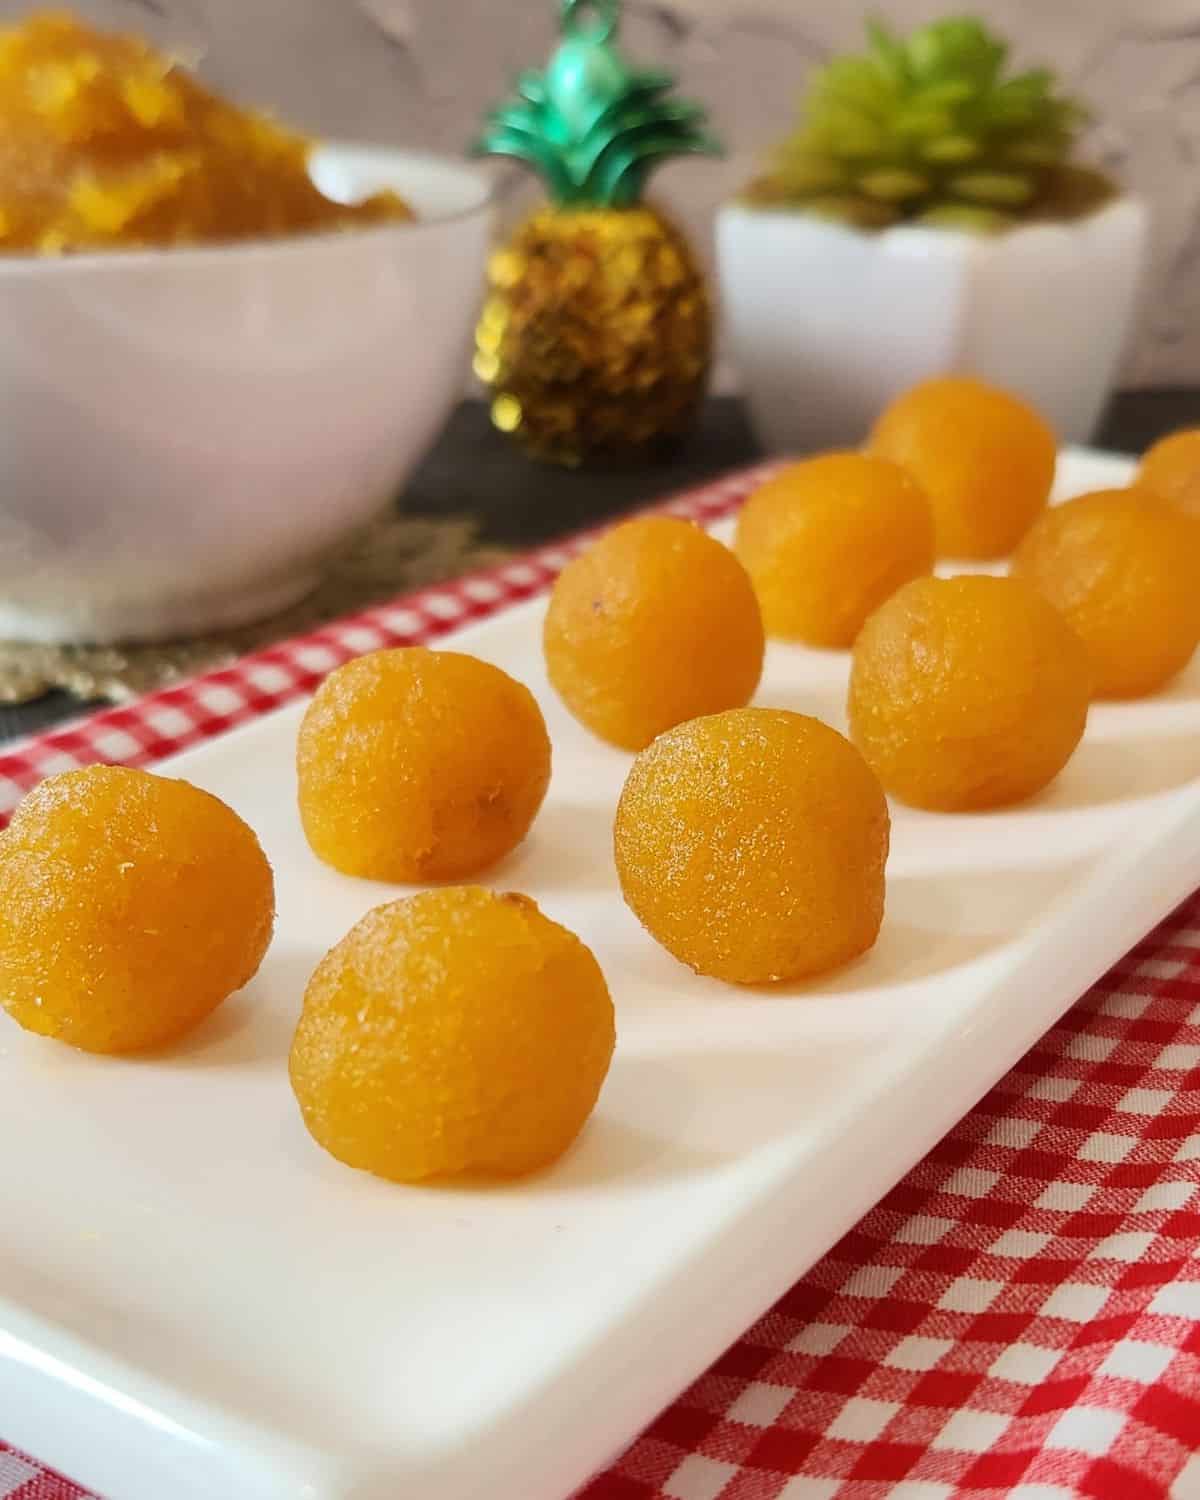
- Nastar (Indonesian Pineapple Tart) – roll into small balls for easy wrapping.
- Koningscroon Cake – use as the sweet layer inside this Dutch-Indonesian classic.
- Butter Cakes – spread between layers like jam for a sweet-tart contrast, you can see an example like this in Lapis Surabaya.
- Cookies & Pastries – use it as a filling for thumbprint cookies, turnovers, or hand pies.
Once you have a batch ready, it becomes a go-to filling for so many treats!

Pineapple Cake Filling
Equipment
- 1 food processor
- 1 pot
Ingredients
- 900 gr pineapple
- 80 gr glucose syrup
- ½ tsp salt
- 1 pcs cinnamon stick
- 6 pcs cloves optional
- 5 gr jelly powder
- 15 gr butter
- 40 gr sugar
Instructions
- Cut the pineapple into smaller chunks , don’t discard the core, as it adds natural fiber to help thicken the filling. Blend the pineapple until smooth, then transfer it to a wok. Add the jelly powder and stir until dissolved. Turn the heat to low and add the cinnamon stick and cloves for aroma.
- Keep stirring with a spatula as the mixture cooks down. Adjust the heat as needed; if it splashes, simply lower the flame. Once you see the liquid begin to evaporate, add the glucose syrup. Continue cooking until the filling looks drier, then add the sugar. Adding sugar toward the end helps maintain the filling’s bright golden color. Finally, add the butter and stir until fully incorporated.
- When the mixture becomes thick, clumpy, and you can clearly see the pineapple fibers, the filling is ready. At this stage, it should pull away from the pan easily and look almost dry). Turn off the heat.
- Let the pineapple cake filling cool completely before transferring it to a clean, dry container. Once cooled, it will firm up into a jammy, scoopable consistency perfect for baking.
Notes
- Keep the heat low and steady – Pineapple splashes easily when heated. Stir on low heat, and adjust only when needed to prevent burning or splattering.
- Don’t skip the pineapple core – The core contains natural fiber that thickens the filling beautifully without needing extra starch.
- Add sugar at the end – Adding sugar too early can darken the mixture. Stirring it in at the final stage keeps the filling’s signature bright golden color.
- Use a wide, shallow pan – A wok or wide skillet allows moisture to evaporate faster, cutting down cooking time and helping the filling caramelize evenly.
- Don’t walk away – This filling transforms quickly during the final stage. Stay close and stir frequently so it doesn’t catch at the bottom.
- Adjust sweetness based on the pineapple – Every pineapple has different acidity. Taste before adding the full amount of sugar and adjust as needed.
- Cook until it holds its shape – The filling is ready when it pulls away from the pan and looks thick, fibrous, and almost dry. This is the ideal texture for nastar and pineapple cakes.


This homemade pineapple cake filling is so fragrant and golden, perfect for nastar, pineapple cakes, and so many desserts!