
Thai Egg Cake (Khanom Khai)
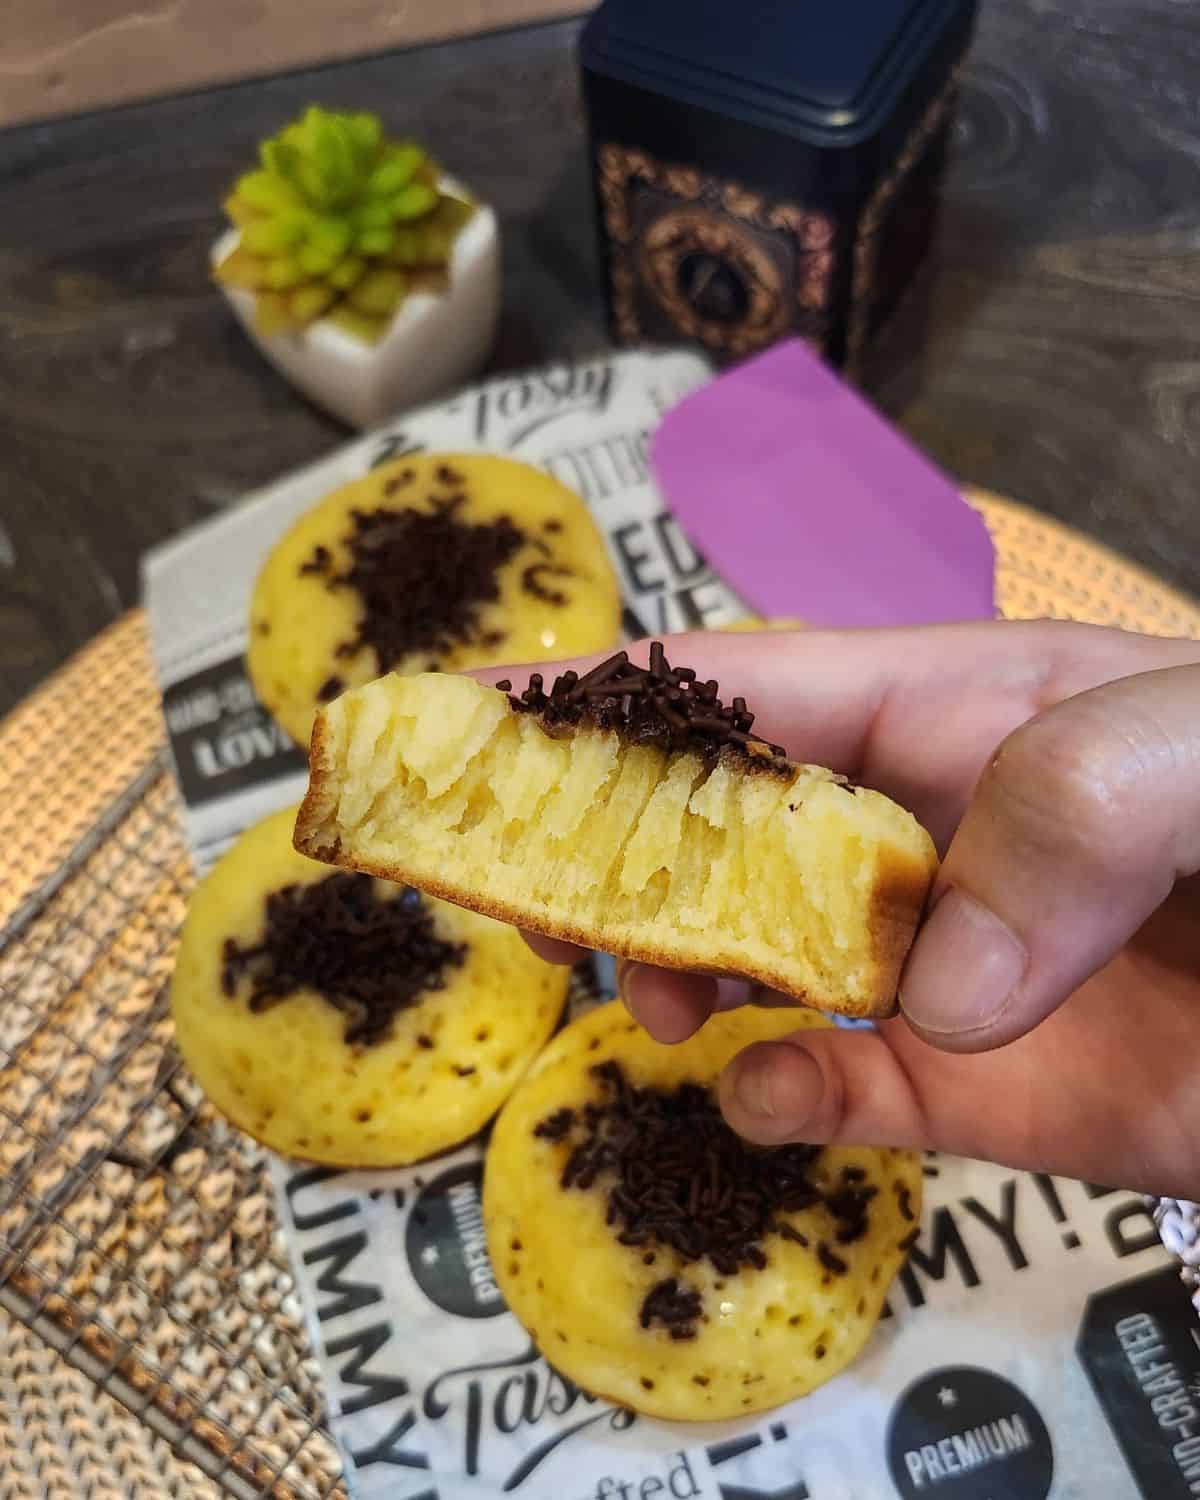
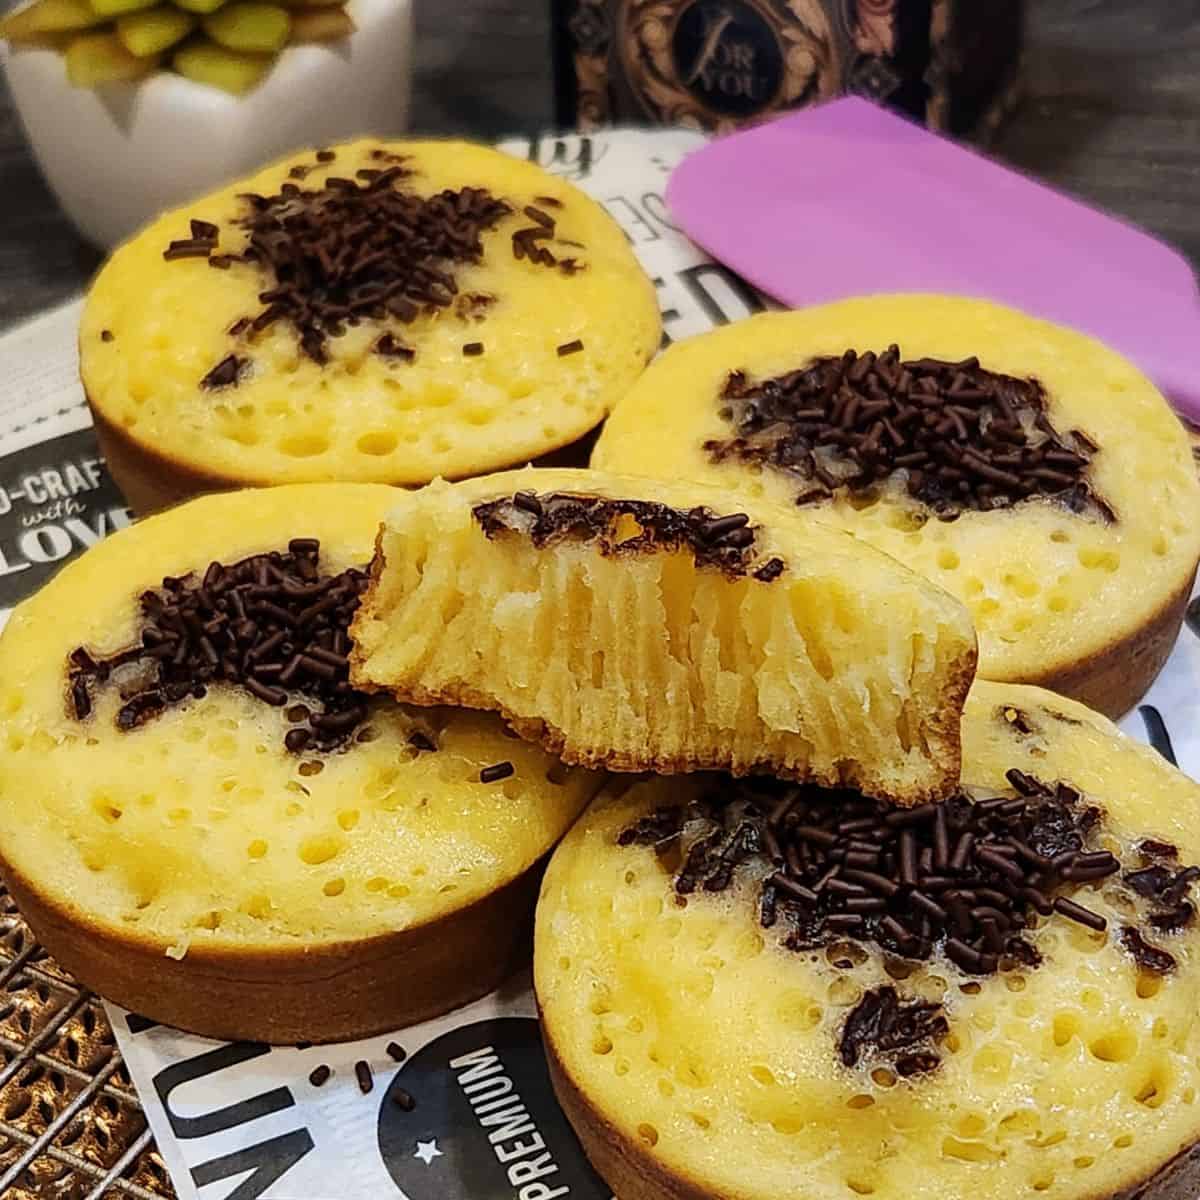
Soft, airy, and lightly crisp at the edges, Thai Egg Cake (Khanom Khai) is the adorable cousin of Indonesia’s Kue Cubit. Made from eggs, sugar, and flour, these golden mini cakes are simple and deliciously comforting.
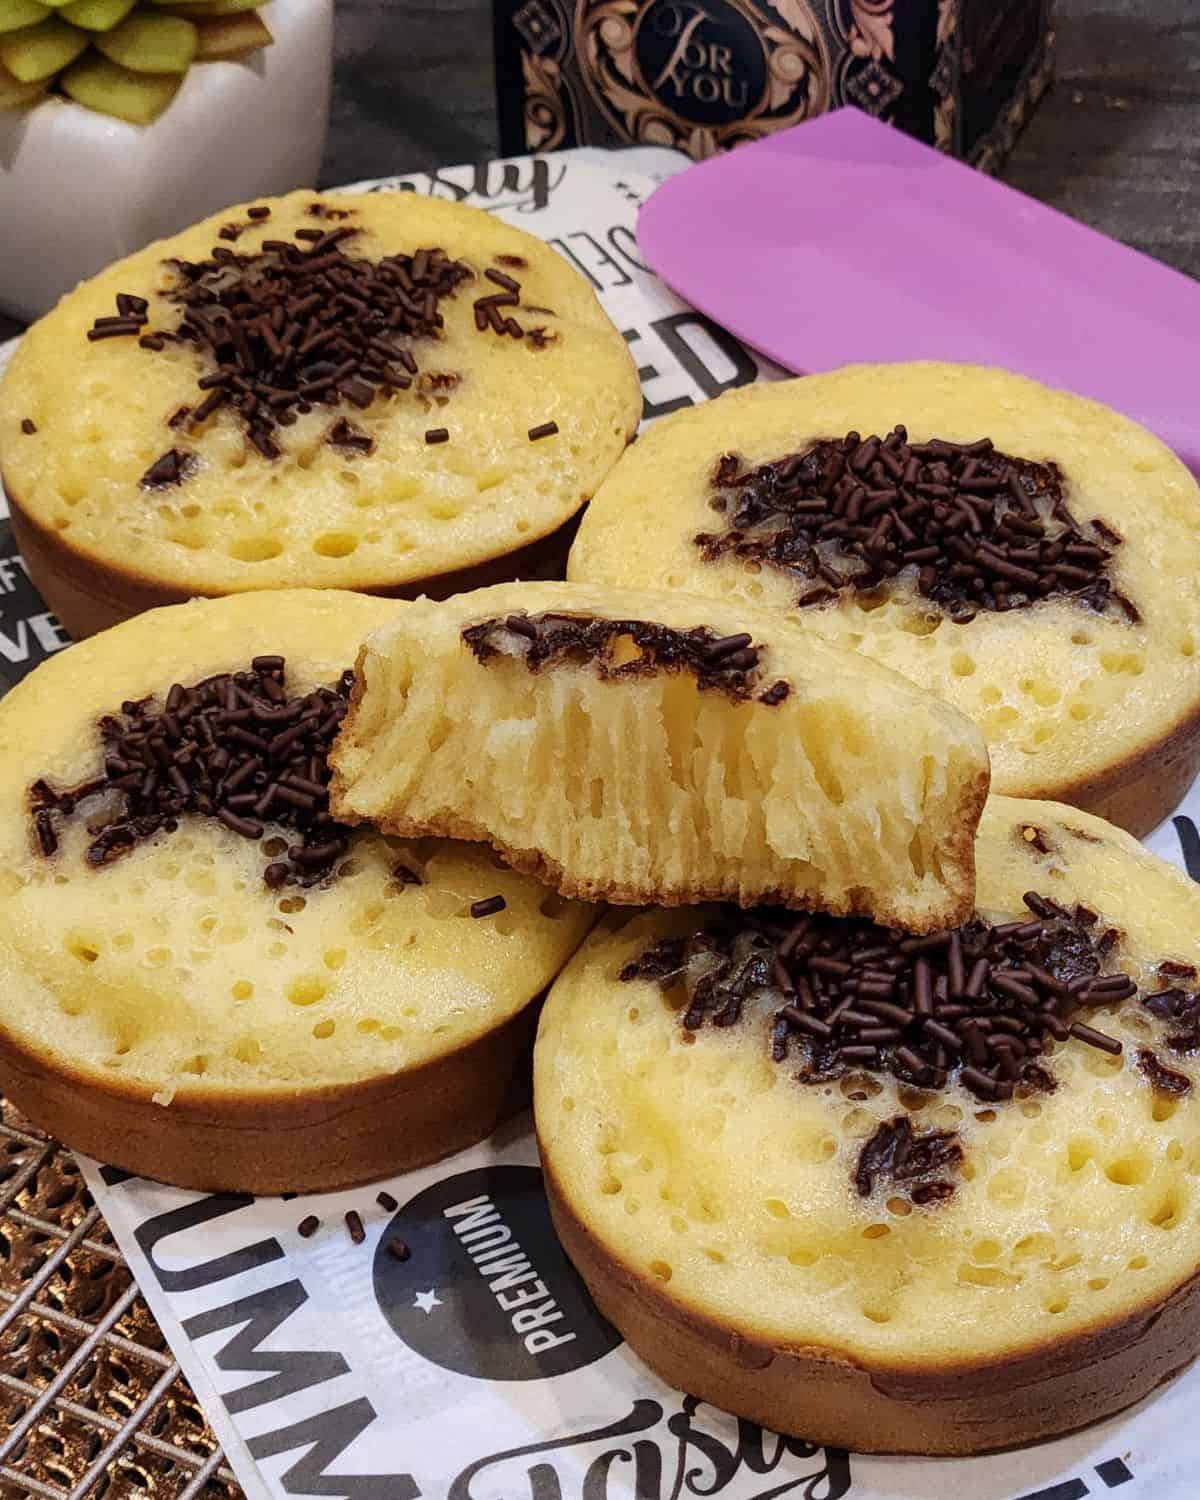
Thai Egg Cake, or Khanom Khai, is one of Thailand’s most beloved street snacks . They are soft, puffy little cakes that has chocolate, cheese, or raisin as toppings. You’ll often spot them in local markets, cooked in small molds until golden with slightly crisp edges. They’re simple, humble, and irresistibly good.
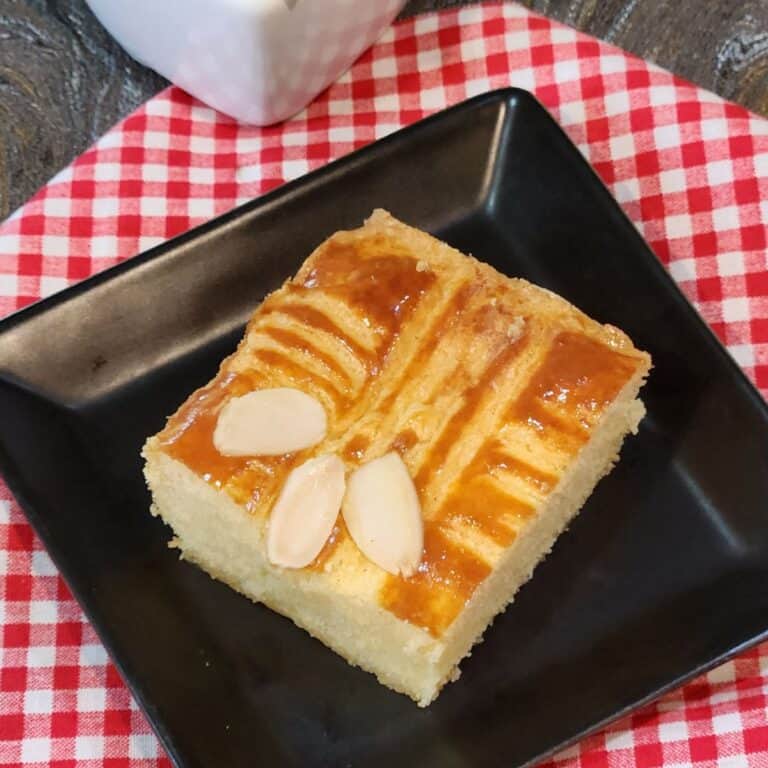
While my Thai Butter Cake is rich and moist like a pound cake, Thai Egg Cake is much lighter, more like a sponge cake in bite-sized form. It reminds me a lot of Indonesia’s Kue Cubit, both in flavor and how it’s made. Just a few simple ingredients, a mini pan, and before you know it, your kitchen smells like a sweet street market in Bangkok.
Why You Will Love This Recipe
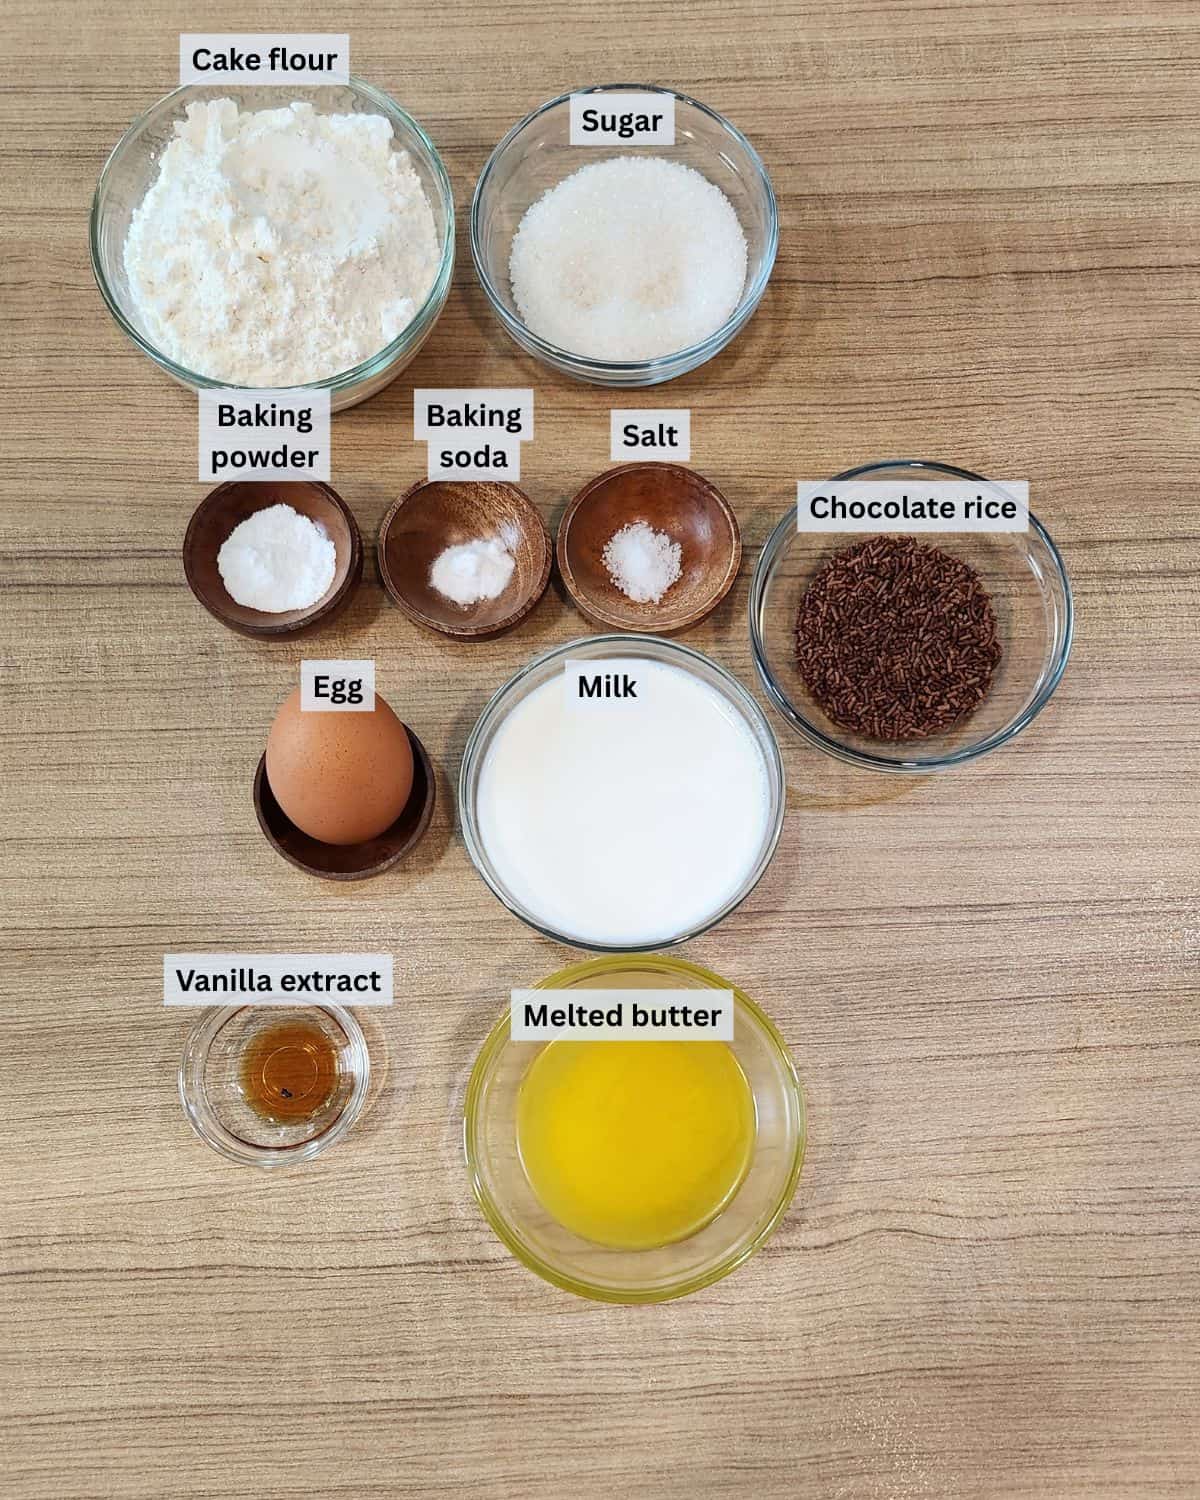
Recipe Ingredients
Ingredient Notes
Flour – You can use all-purpose flour or cake flour. Cake flour gives a lighter, softer texture, while all-purpose flour makes the cake a little denser (still delicious!).
Baking powder & baking soda – These two help the batter puff up beautifully. Together they create that soft, airy texture with just a hint of crisp edge.
Butter – I recommend using real butter for a richer, more fragrant flavor, though margarine works if that’s what you have. Melt it gently before mixing so it blends smoothly with the batter.
Sugar & eggs – The heart of this recipe! Beating the eggs and sugar until fluffy gives the cake its signature lightness.
Be sure to check out the full recipe and ingredient list below
How to Make Thai Egg Cake
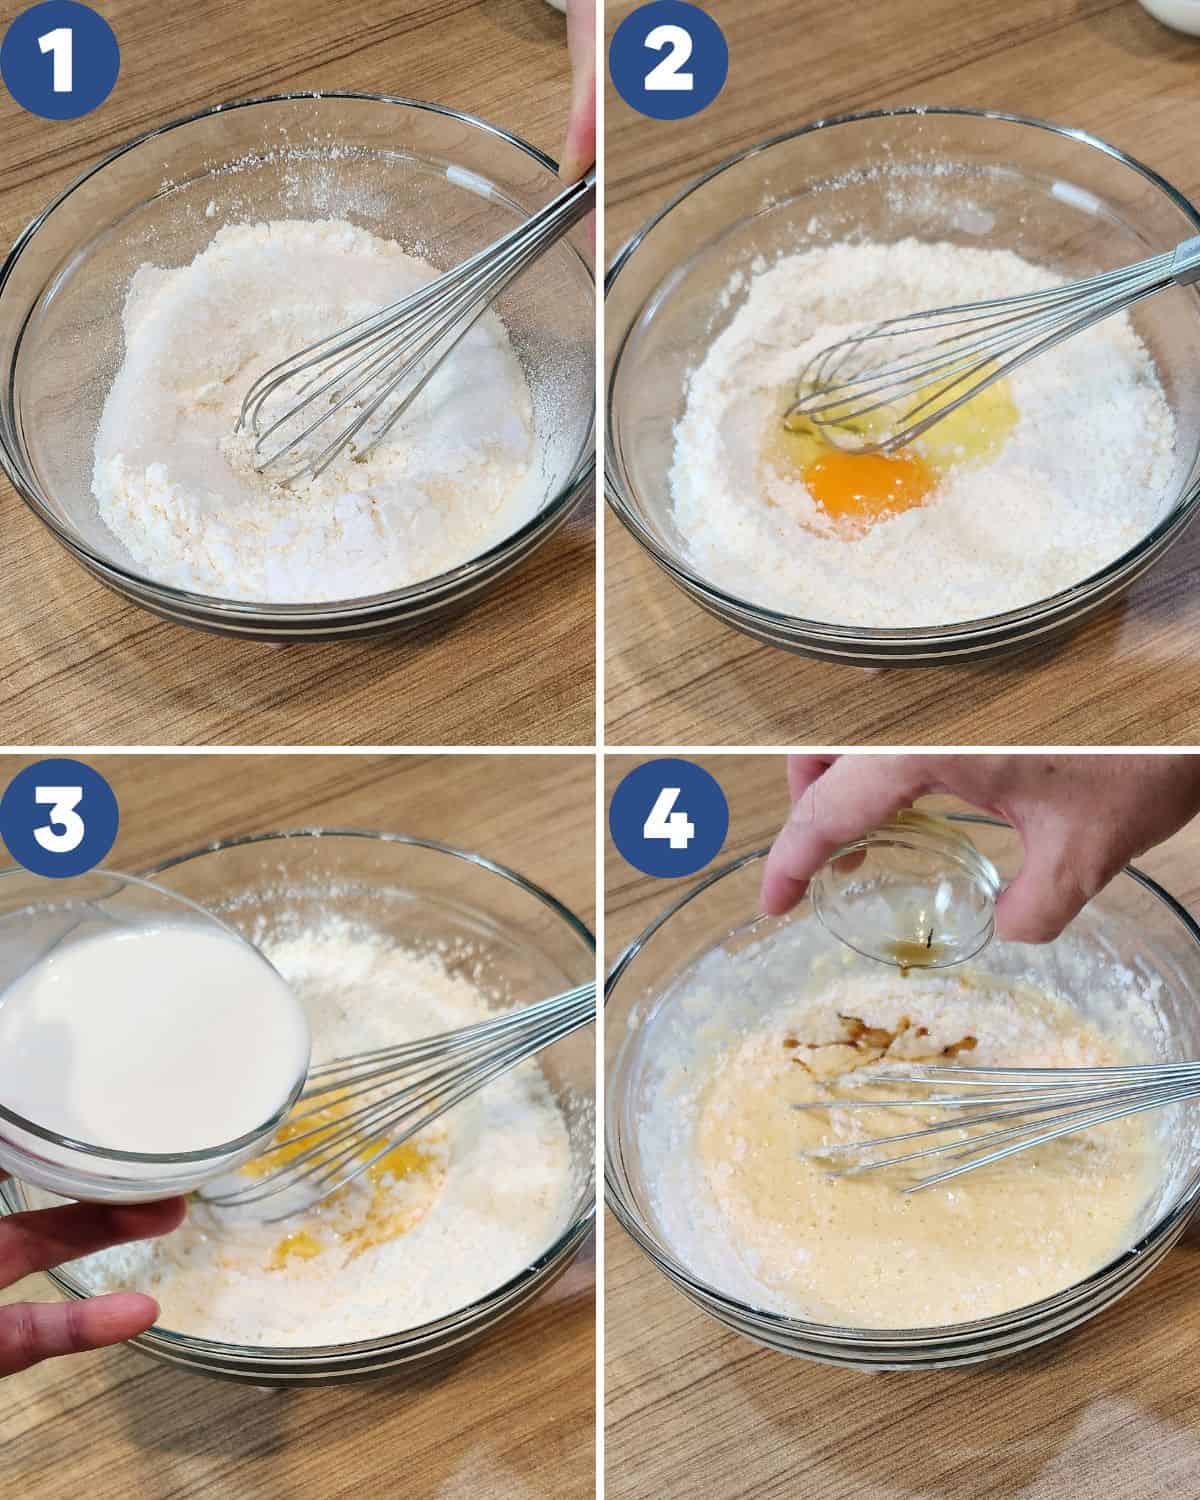
STEP 1. In a bowl, sift together flour, baking powder, baking soda, sugar, and salt (Image 1). Whisk to combine evenly. Crack in the egg and whisk again (Image 2). Gradually pour in milk while whisking (Image 3). Add vanilla extract and mix until fully incorporated (Image 4).
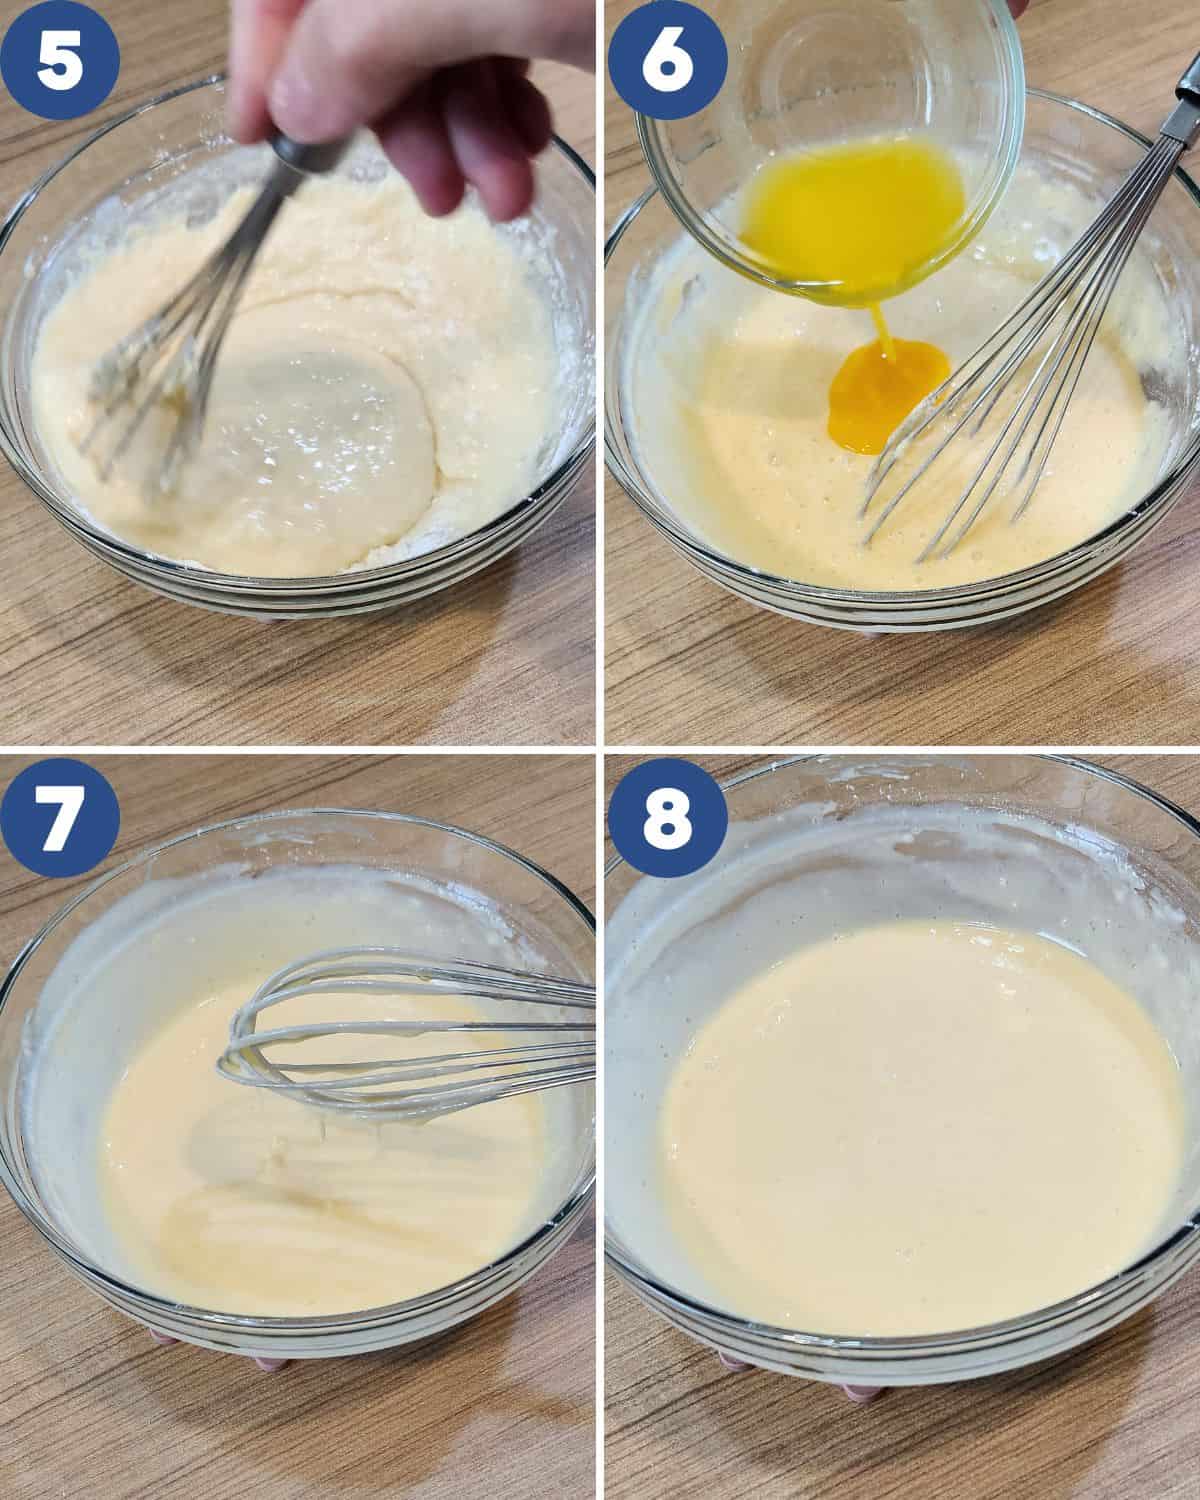
STEP 2. Whisk the batter until smooth, then add melted butter (Images 5, 6). Mix again until you get a silky, lump-free batter (Image 7). Let it rest for 15 minutes to allow air bubbles to form (Image 8).

STEP 3. After resting, you’ll see tiny bubbles in the batter (Image 9), that’s a good sign! Heat a mini pancake or Kue Cubit pan, and lightly brush it with butter or margarine. Whisk the batter again before pouring it into the molds (Image 10). Cook over medium heat until small pores appear on top (Image 11). Add your favorite toppings like chocolate rice, grated cheese, or raisins (Image 12). When the tops look dry and springy to the touch, lift them out gently and enjoy them warm!
Pro Tips
- Rest the batter – Don’t skip the 15-minute rest! It helps the baking powder and soda activate, creating that light, fluffy texture.
- Whisk before pouring – The flour can settle while resting, so always give the batter a quick whisk before cooking.
- Use medium heat – Too high, and the cakes will brown before cooking through; too low, and they’ll turn pale and dense.
- Brush the pan with butter or margarine – This not only prevents sticking but also gives the edges a beautiful golden crisp.
- Don’t overfill the molds – Leave a little room for the batter to rise; otherwise, they might overflow.
- Customize the toppings – Sprinkle chocolate rice, grated cheese, raisins or even nougat right before the surface sets for the best stick and flavor.
How to Serve
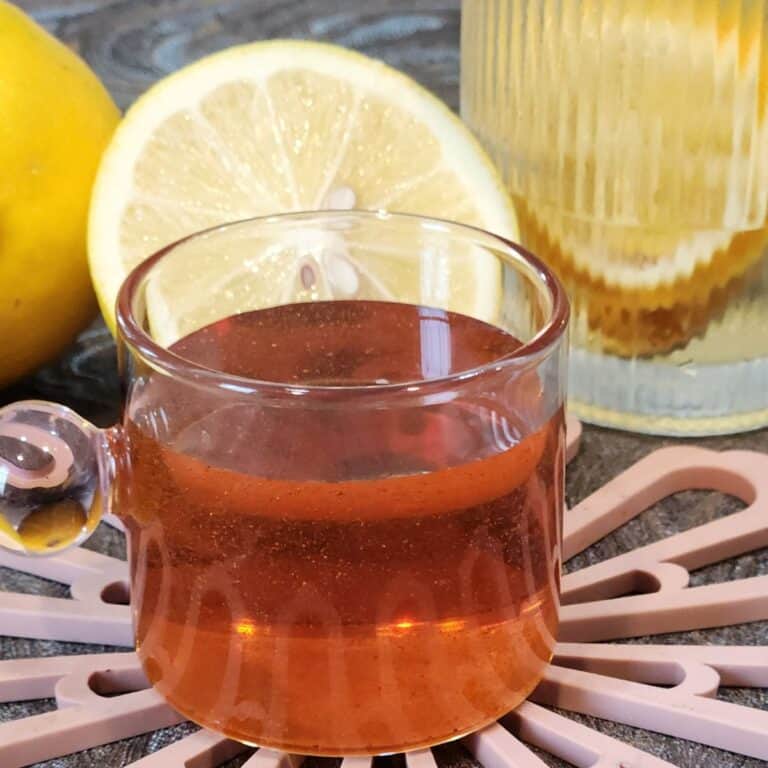
These golden Thai Egg Cakes are best enjoyed warm, straight from the pan when the edges are still slightly crisp. Pair them with a refreshing Rose Milk Tea, Butterfly Pea Tea, or a Butterfly Pea Latte for a cozy afternoon treat.
They also make a lovely sweet finish after a rich, spicy meal, such as Fish Curry, Oxtail Soup, or even Beef Rendang. The light, airy texture and gentle sweetness balance the spices beautifully, giving you the perfect ending to a hearty meal.
FAQs about Thai Egg Cake
The batter might be overmixed or the heat too low. Mix just until smooth and let the batter rest before cooking. This helps create a light, airy texture. Make sure your baking powder and baking soda are fresh for the best rise.
Yes! You can bake the batter in mini muffin pans at 170°C (340°F) for about 10–12 minutes or until golden. The texture will be slightly drier than the pan-cooked version but still soft and fluffy.
You can substitute melted margarine or neutral oil, but butter gives the richest flavor and aroma.
Resting allows air bubbles to form and helps the leavening agents activate . That’s what gives Thai Egg Cakes their soft, spongy texture.
Classic Thai-style toppings include chocolate rice, raisins, or grated cheese. You can also get creative with crushed nuts, mini chocolate chips, or even shredded coconut.
When the tops feel dry to the touch and spring back slightly, they’re ready! Avoid overcooking or they’ll lose their softness.
Storage
Store the Thai Egg Cakes in an airtight container once completely cooled. They stay soft at room temperature for up to 2 days, or you can refrigerate them for up to 5 days. To bring back their warmth and softness, reheat in the microwave for 10–15 seconds or toast lightly on a pan before serving.
More Mini Desserts
Thai Egg Cake
Equipment
- 1 takoyaki pan
Ingredients
- 145 gr flour
- 1 tsp baking powder
- ½ tsp baking soda
- 1 tsp vanilla extract
- ½ tsp salt
- 70 gr sugar
- 1 egg
- 140 ml milk
- 40 gr milk
Topping
- 80 gr chocolate rice
- 60 gr cheese grated or cube size
Instructions
- In a bowl, sift together flour, baking powder, baking soda, sugar, and salt. Whisk to combine evenly. Crack in the egg and whisk again. Gradually pour in milk while whisking. Add vanilla extract and mix until fully incorporated.
- Whisk the batter until smooth, then add melted butter. Mix again until you get a silky, lump-free batter. Let it rest for 15 minutes to allow air bubbles to form.
- After resting, you’ll see tiny bubbles in the batter, that’s a good sign! Heat a mini pancake or Kue Cubit pan, and lightly brush it with butter or margarine. Whisk the batter again before pouring it into the molds. Cook over medium heat until small pores appear on top. Add your favorite toppings like chocolate rice, grated cheese, or raisins. When the tops look dry and springy to the touch, lift them out gently and enjoy them warm!
Notes
- Rest the batter – Don’t skip the 15-minute rest! It helps the baking powder and soda activate, creating that light, fluffy texture.
- Whisk before pouring – The flour can settle while resting, so always give the batter a quick whisk before cooking.
- Use medium heat – Too high, and the cakes will brown before cooking through; too low, and they’ll turn pale and dense.
- Brush the pan with butter or margarine – This not only prevents sticking but also gives the edges a beautiful golden crisp.
- Don’t overfill the molds – Leave a little room for the batter to rise; otherwise, they might overflow.
- Customize the toppings – Sprinkle chocolate rice, grated cheese, or raisins right before the surface sets for the best stick and flavor.


This is a super easy and quick dessert to prepare for the kids! They all love its bite size cute shape. Very versatile with any of your favorite toppings!