
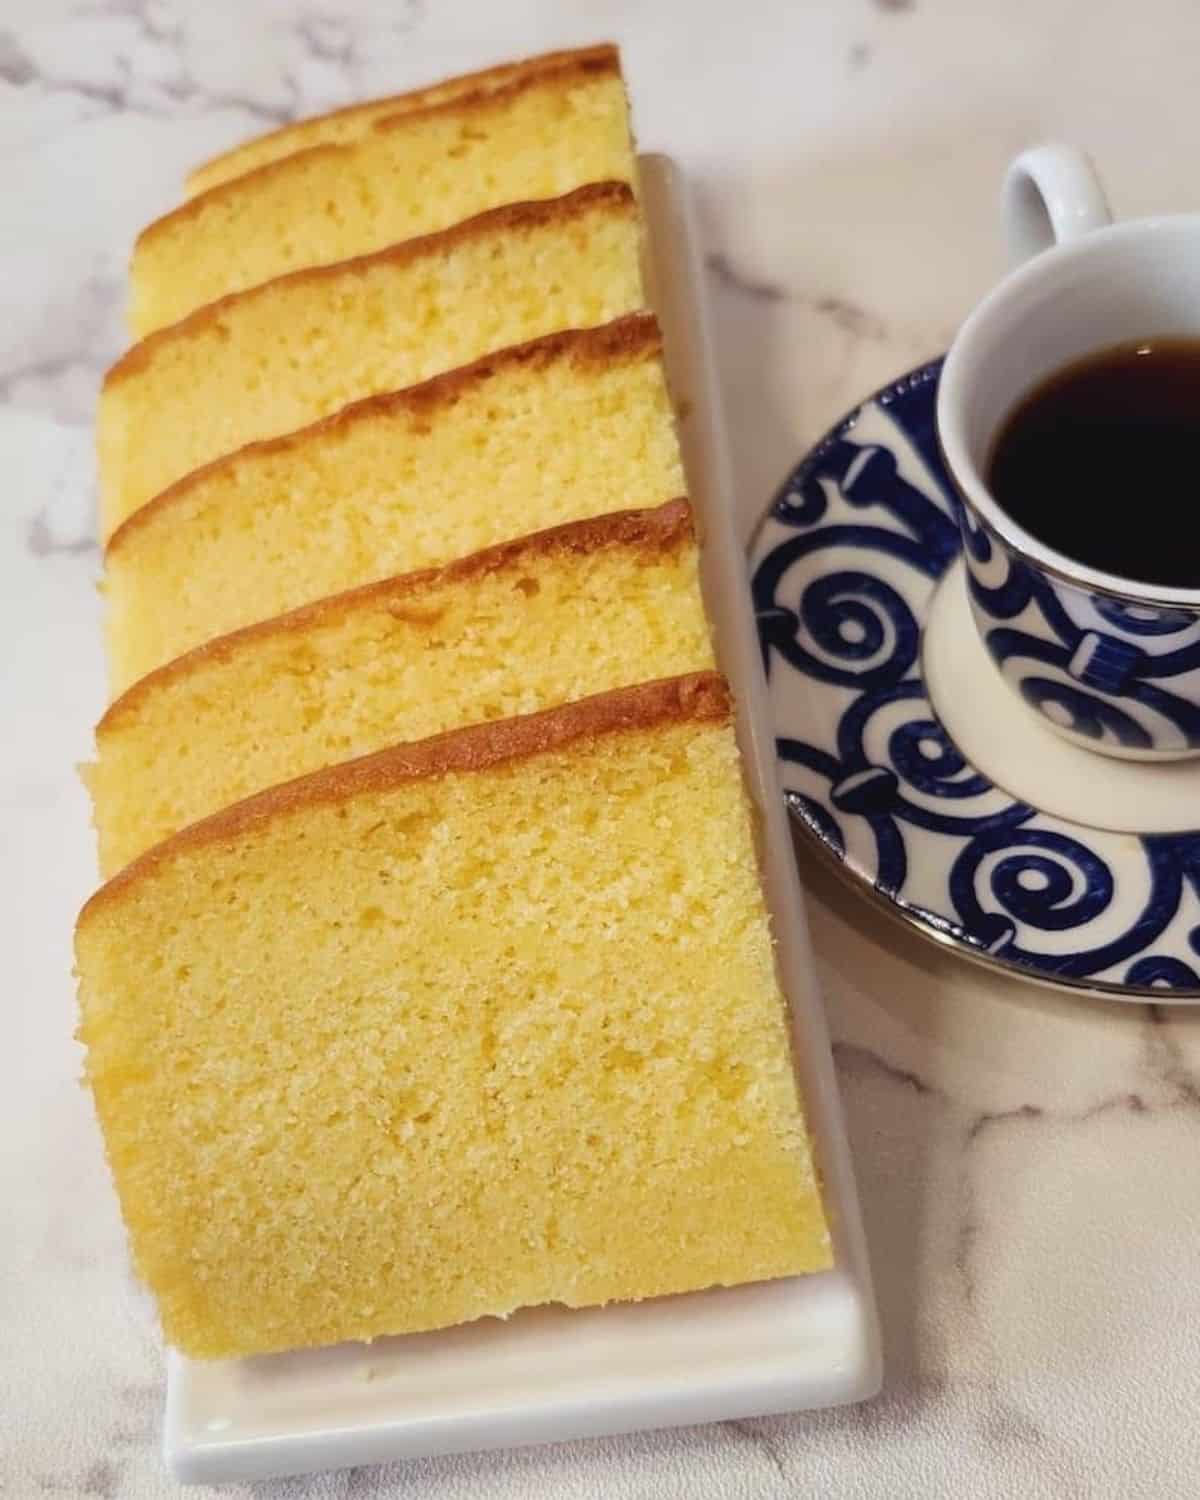
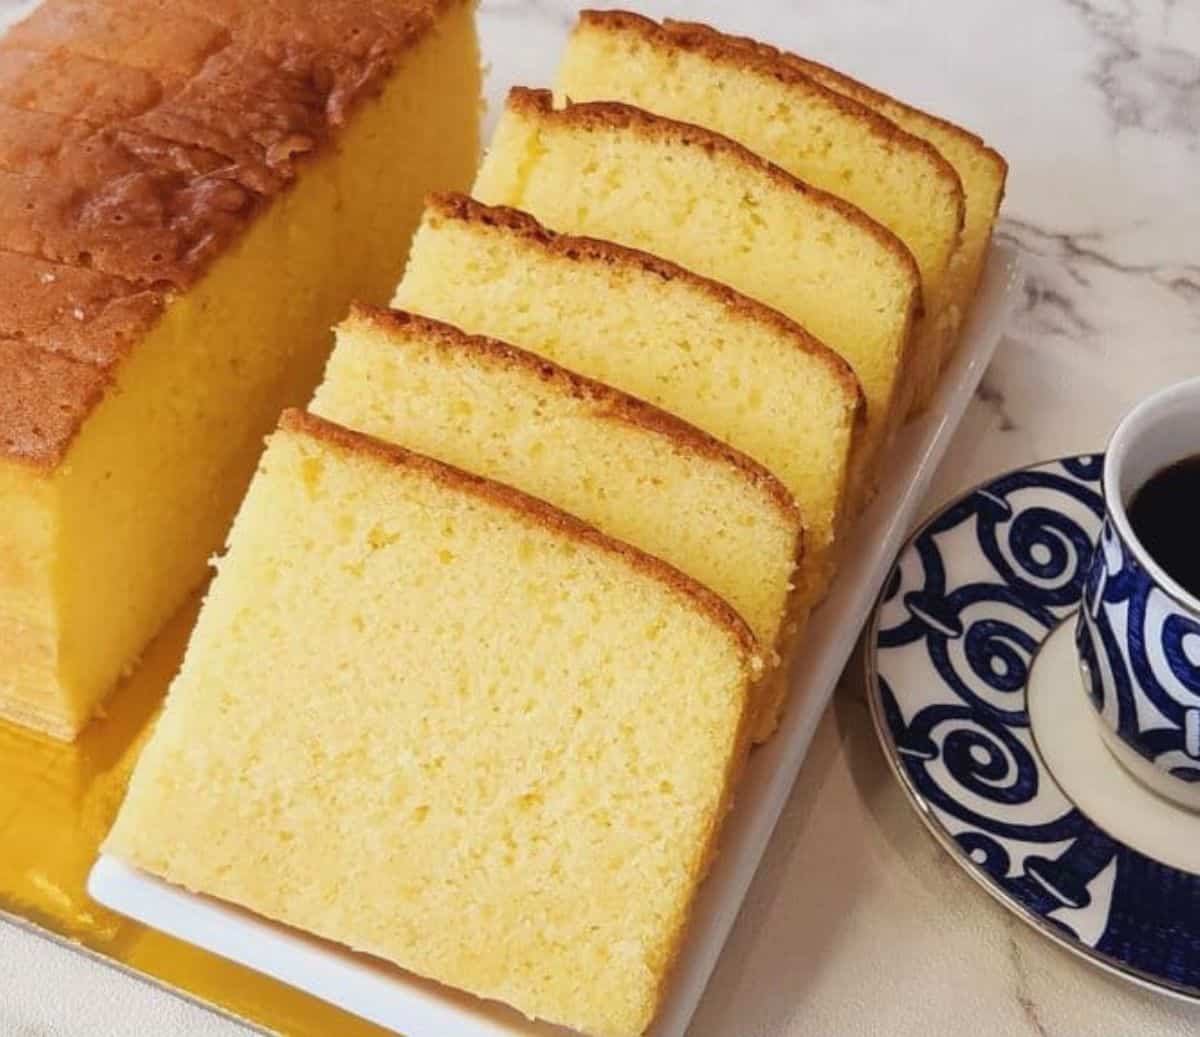
Super Moist and Soft Thai Butter Cake
This super moist Thai Butter Cake has been viral for quite some time in Instagram. The simple look and super moist texture will make you fall in love.
A Quick Look at the Recipe
🏷️ Recipe Name: Thai Butter Cake
⏱️ Ready In: ~ 1 hours 15 minutes
🍽️ Serves: 16 slices
🔥 Calories: 173 kcal (per slice)
🧾 Main Ingredients: Unsalted butter, sugar, salt, eggs, flour, baking powder, milk, lemon juice, vanilla extract.
🥗 Dietary Info: Halal
🧠 Difficulty: Easy, very simple steps.
Have a question? Ask AI!
I had seen Thai butter cake pop up on my timeline several times before finally deciding to give it a try myself. At first, I thought it was similar to Thai Egg Cake (Khanom Khai), but they’re actually quite different! While Thai Egg Cake is light, fluffy, and baked in mini molds, Thai Butter Cake is richer and denser, almost like a pound cake with that buttery aroma everyone loves.
Thai Butter Cake went viral in Malaysia, and with Indonesia being so close, many bakers here started making it and sharing it on Instagram.
There are other cakes with similar textures like this that you’ll often find in traditional Asian cake recipes, including Bolu Tape Keju or Fermented Cassava Cake, Marble Cake, and the Pandan Coconut Cake.
Why You Will Love This Recipe
Recipe Ingredients

Ingredient Notes
Butter – Use a good-quality butter for the best flavor and aroma. The buttery fragrance is what makes this cake irresistible! If you already have a favorite brand that works well for your bakes, stick with it.
Flour – You can use cake flour or all-purpose flour for this recipe. Cake flour gives a lighter, softer crumb, while all-purpose flour makes the texture a bit firmer but still delicious. Either works beautifully, just use what you have on hand!
Baking powder – Helps the cake rise evenly and stay fluffy. Make sure it’s fresh, as old baking powder won’t give your cake that beautiful lift.
Be sure to check out the full recipe and ingredient list below
Substitutions & Variations
You can substitute the flour with gluten-free flour if you are intolerant to gluten. For buttermilk, I put in the recipe to make your own buttermilk in an easy way.
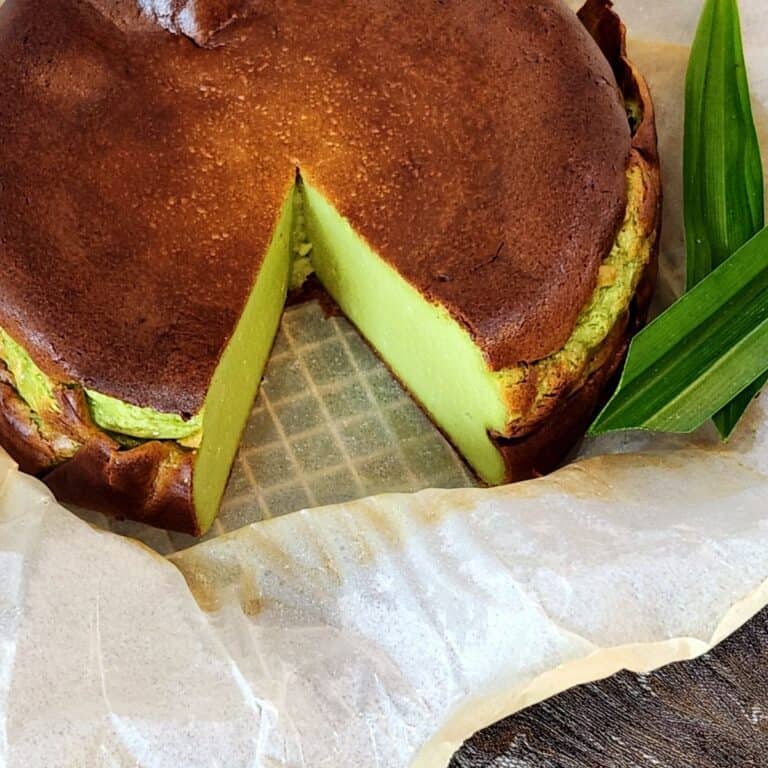
This recipe is very versatile. You can put in pandan extract to make a pandan flavor Thai butter cake or red velvet essence or even taro essence. Maybe you can also experiment with Earl Grey Milk Tea to make a new variation.
How to Make Thai Butter Cake
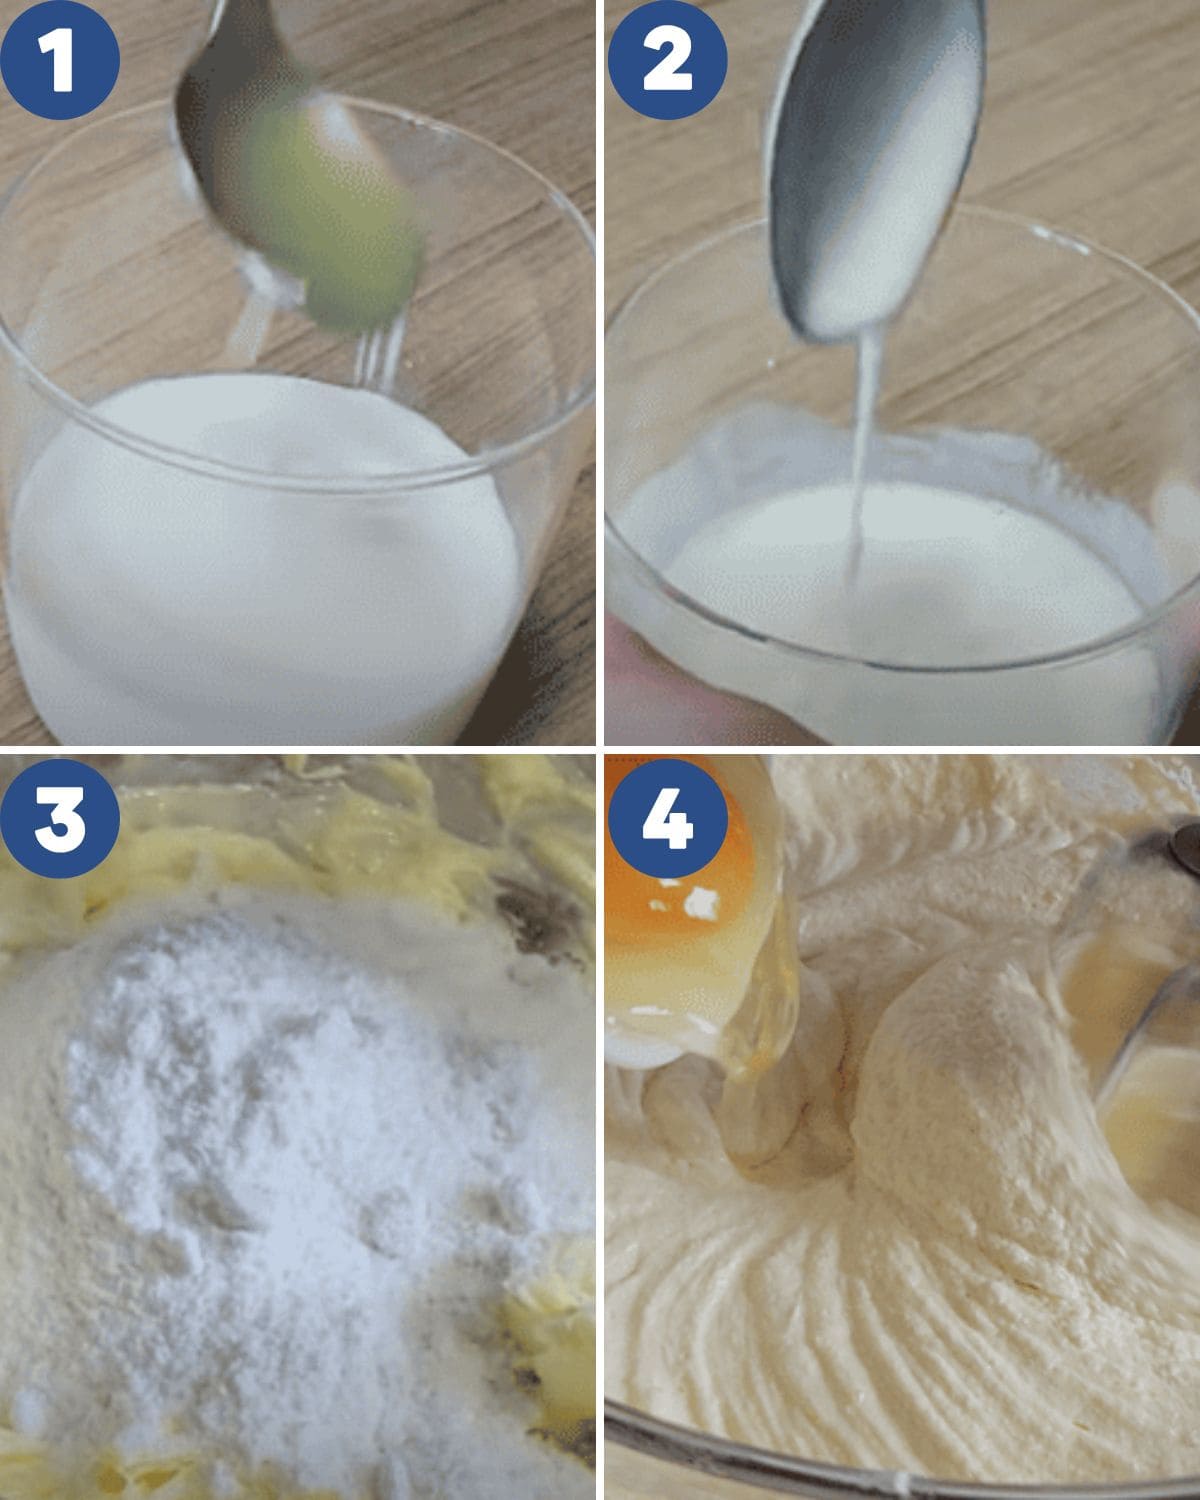
STEP 1. Preheat the oven to 320°F (160°C). Prepare your baking pan by greasing it and lining both the bottom and sides with parchment paper. In a small glass, combine milk and lemon juice (Image 1). Stir to make buttermilk, it will thicken slightly once mixed (Image 2). Set aside.
In a mixing bowl, add room-temperature butter and powdered sugar (Image 3). Add a little vanilla essence if you like. Using a hand mixer, start on low speed and gradually increase to high. Beat for 3–5 minutes until the mixture is pale, light, and fluffy. Crack in the eggs one at a time, mixing on low speed after each addition (Image 4).
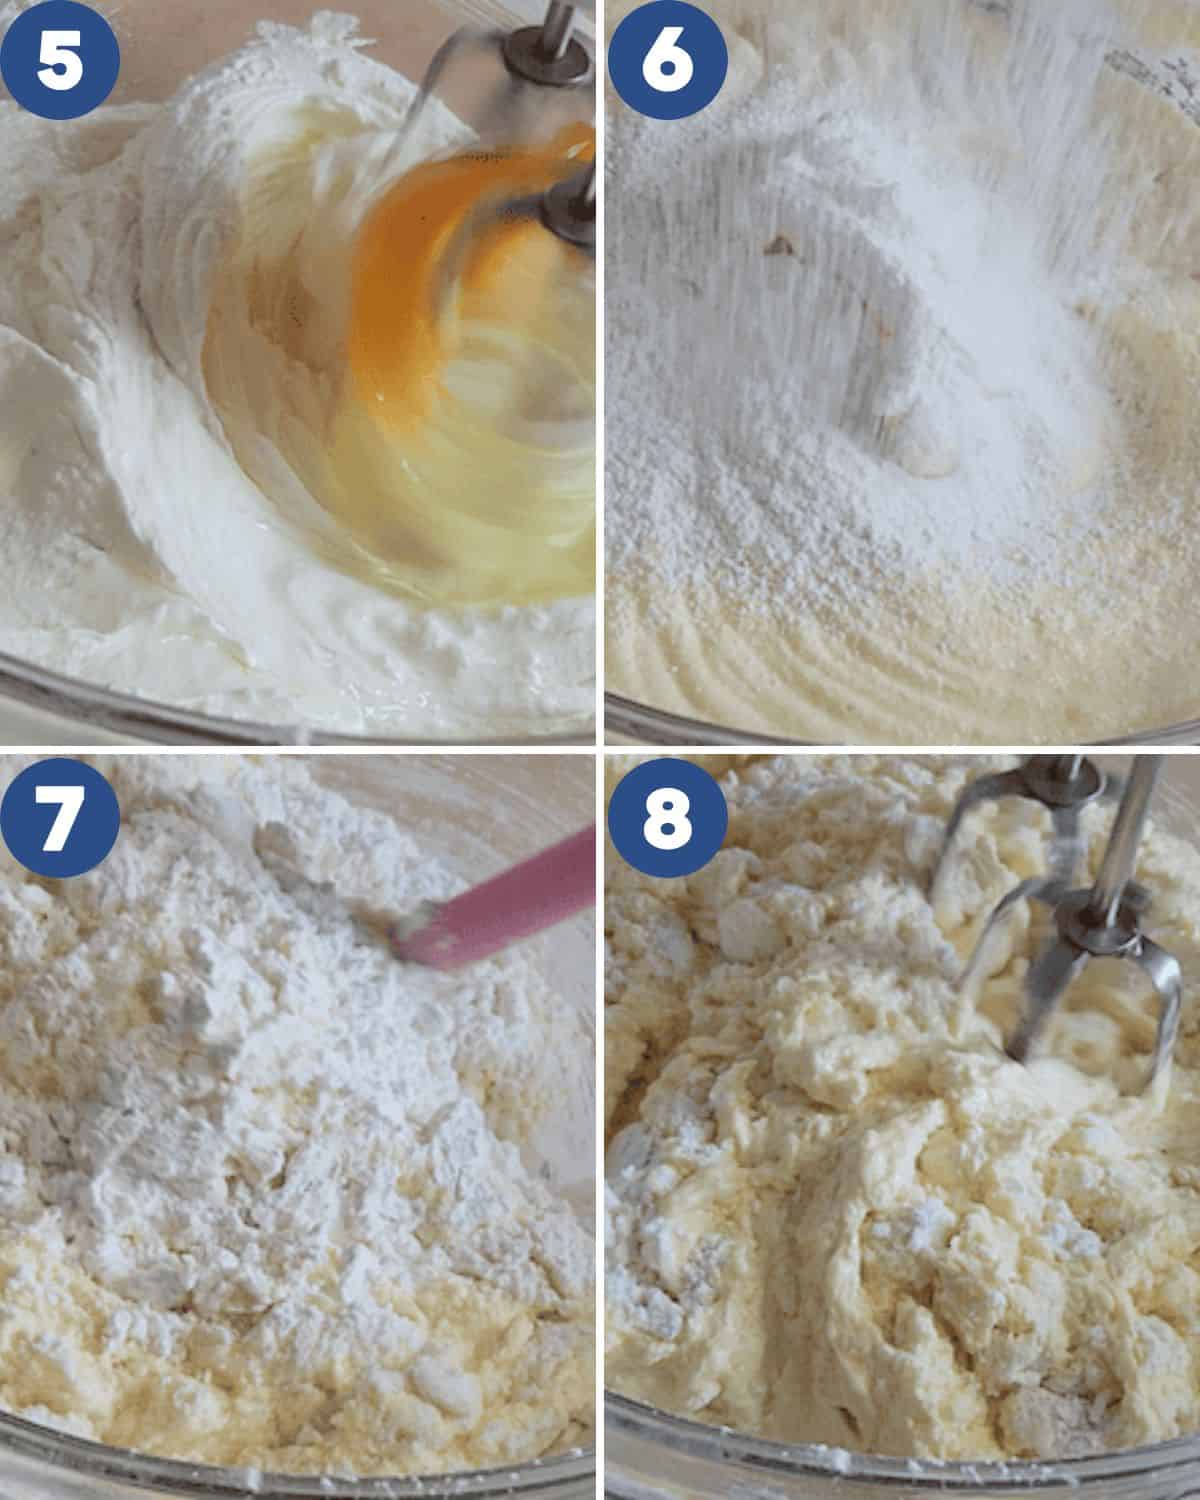
STEP 2. Once the eggs are incorporated, continue mixing briefly on medium speed (Image 5). Sift in the flour and baking powder (Image 6). Gently fold the dry ingredients with a spatula first (Image 7) to avoid scattering flour, then mix again with the mixer on low speed until just combined (Image 8).
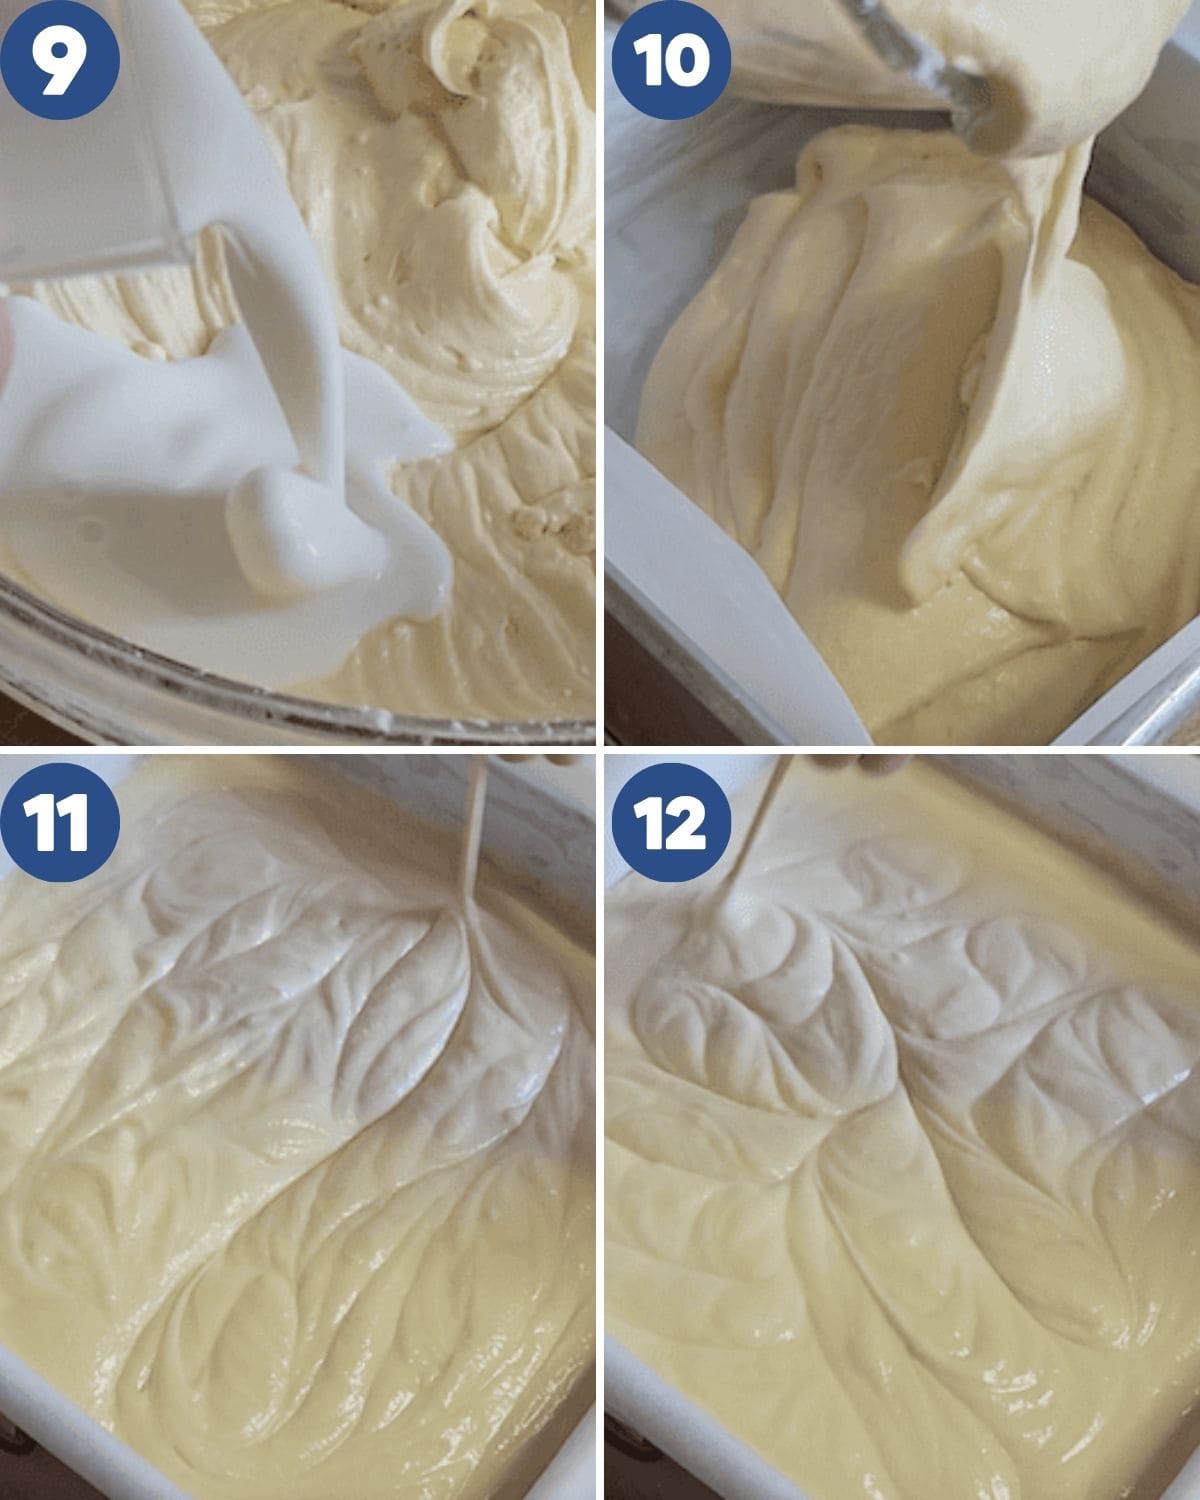
STEP 3. Pour in the prepared buttermilk (Image 9) and mix briefly with the mixer until smooth. Transfer the batter to the prepared pan (Image 10). Tap the pan gently on the table to release any air bubbles and smooth the surface. Use a skewer to swirl the top for an even texture (Images 11, 12).
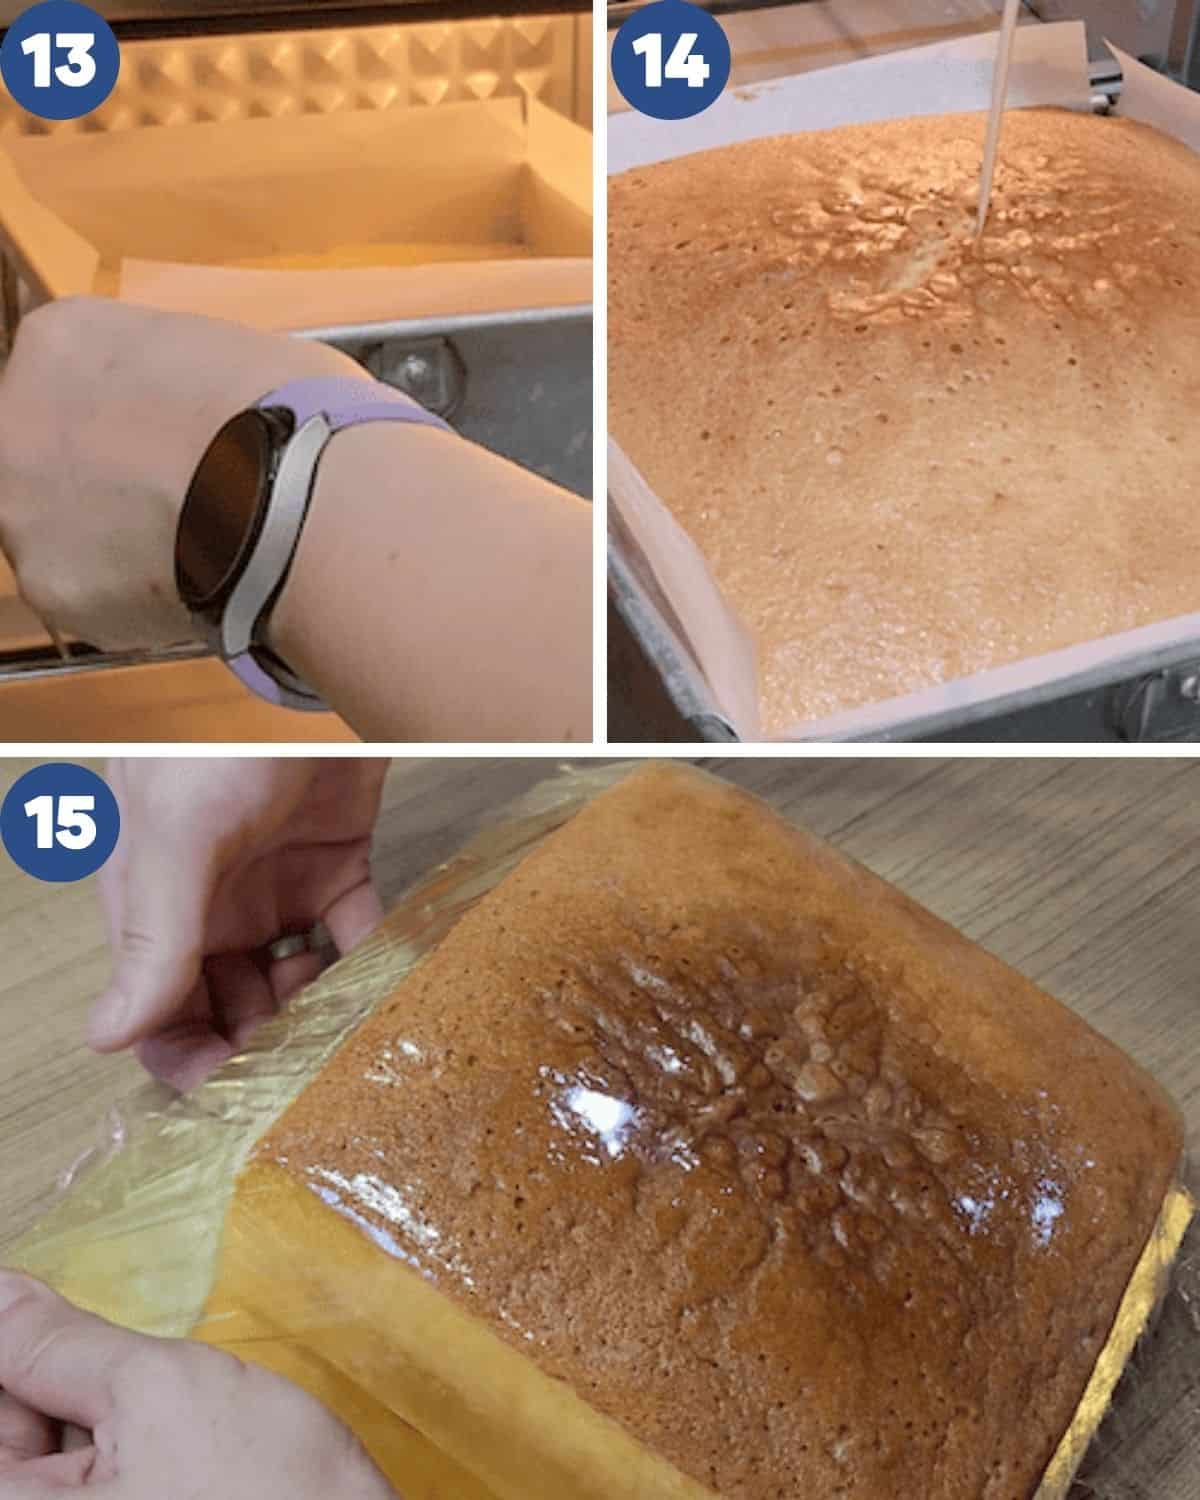
STEP 4. Place the pan on the middle rack of the preheated oven (Image 13). Bake for 55–60 minutes, or until the top is golden brown and the cake feels firm. Test with a skewer (Image 14), if it comes out clean, it’s done. Carefully remove the cake from the pan and transfer it to a tray. While still warm, cover it with cling wrap (Image 15) and let it rest overnight. This helps the surface stay shiny and the inside moist.
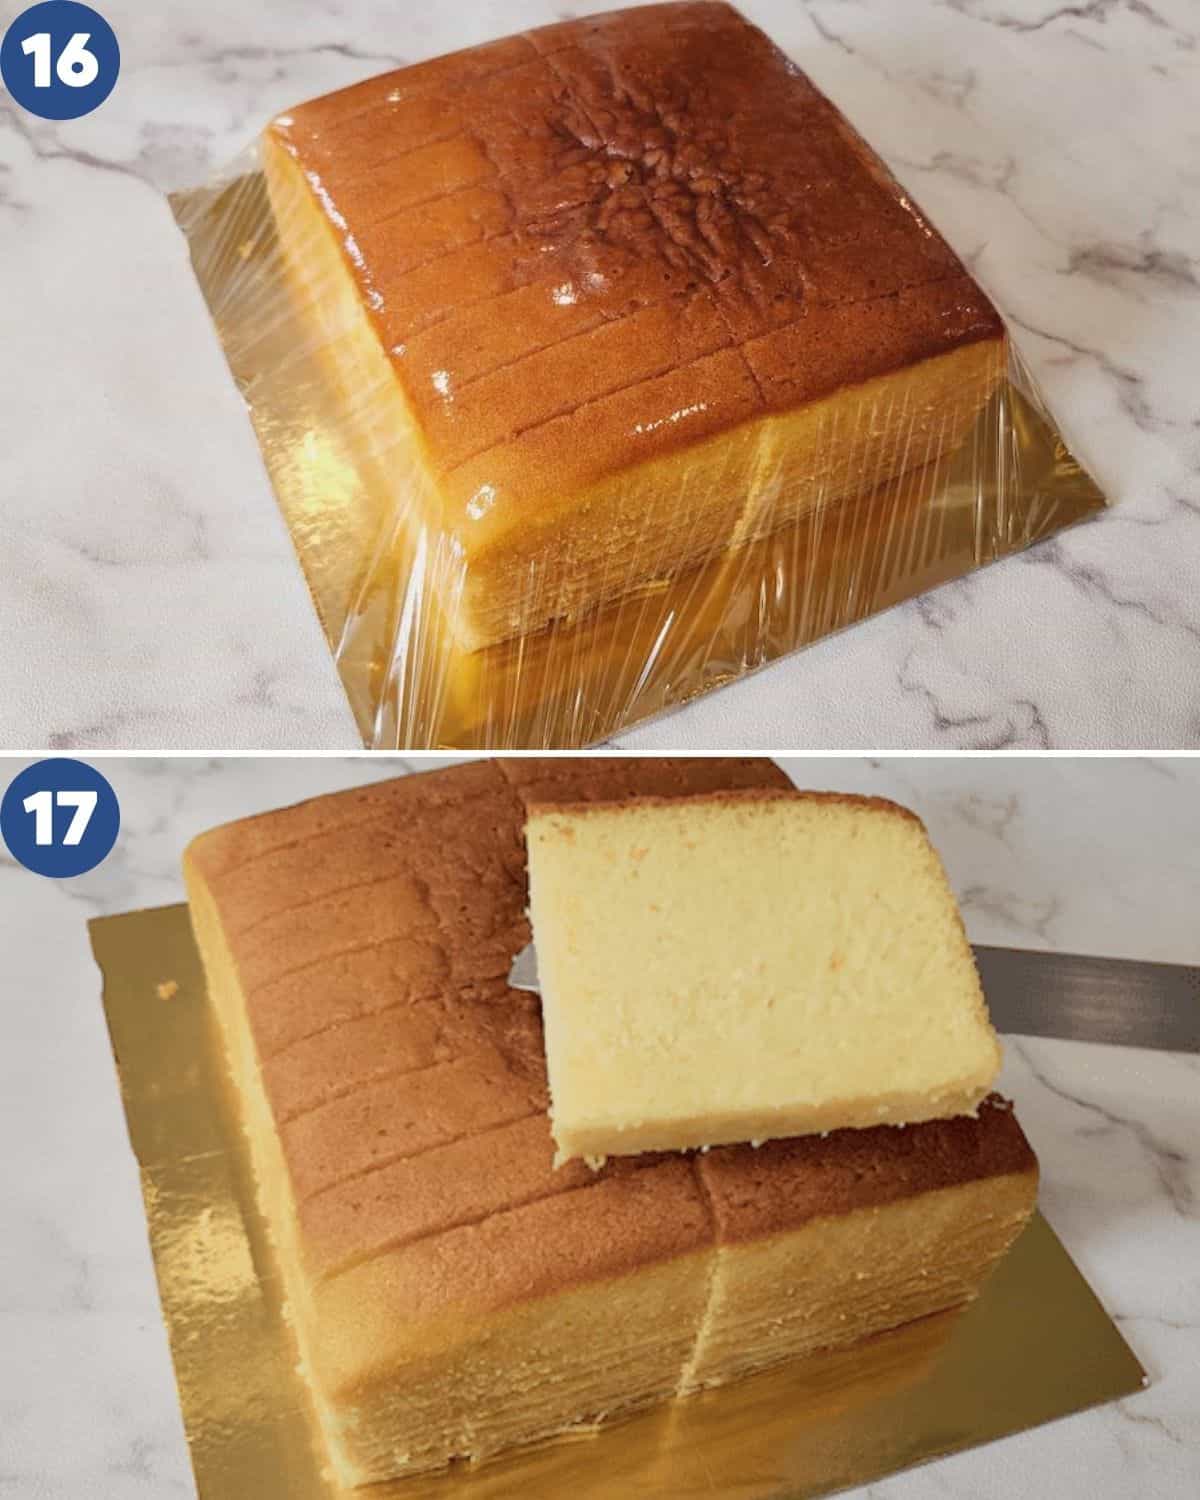
STEP 5. The next day, remove the cling wrap and slice the cake to your liking (Images 16, 17). Enjoy your soft, buttery, and fragrant Thai Butter Cake!
Pro Tips
- Mix smartly – Use a spatula first to fold in dry ingredients like flour and sugar before using your hand mixer. This prevents the flour from scattering everywhere and keeps your kitchen mess-free.
- Line your pan well – Use double parchment paper (as shown in the video) to make it easier to lift the cake out once baked. It keeps the sides neat and prevents the bottom from sticking.
- Seal in the moisture – While the cake is still warm, cover it tightly with cling wrap and let it rest overnight. This simple trick keeps the surface glossy and the inside beautifully soft and moist.
- Be patient – The flavor and texture actually improve after resting. So resist cutting it too soon. You will get that perfect, buttery crumb!
Serving Suggestions
Enjoy a slice of this rich and buttery Thai Butter Cake with your favorite drink. It pairs beautifully with a Rose Milk Tea, a Butterfly Pea Flower Latte, or a classic Thai Milk Tea. You can also serve it with a little strawberry compote for a bright, fruity contrast.
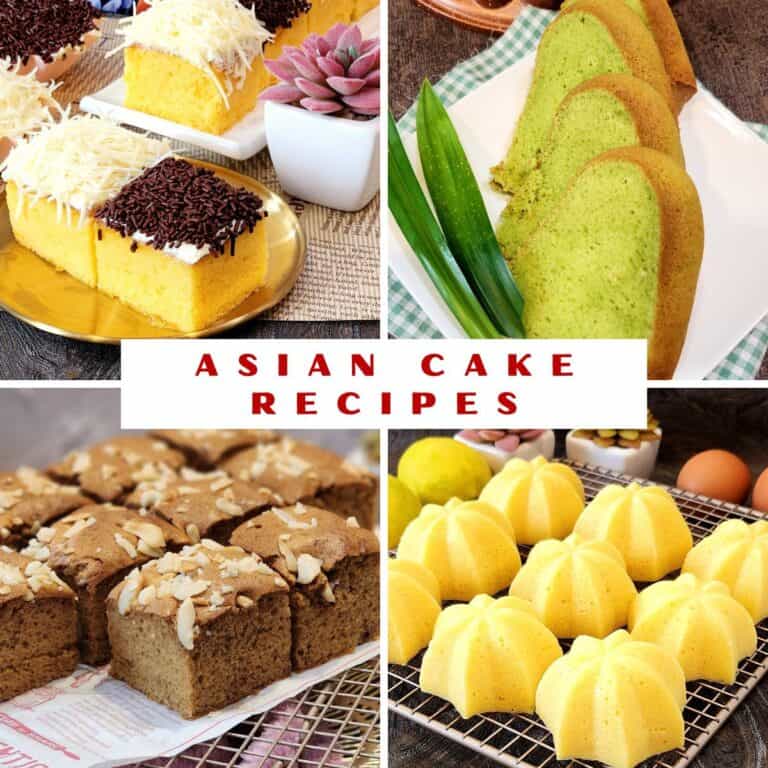
This cake is lovely for afternoon tea, festive gatherings, or even as a thoughtful homemade gift. Serve it slightly warm for that melt-in-your-mouth texture that makes every bite extra comforting. If you enjoy bakery-style treats like this, you can also explore this collection of Asian dessert recipes for more sweet ideas to try at home.
FAQs about Thai Butter Cake
Yes! Use plain yogurt (not Greek-style) to replace buttermilk in equal amount. It gives a similar tang and helps keep the cake moist and tender.
Absolutely. In fact, it tastes even better the next day after resting overnight. Wrap it with cling wrap and store in the chiller. The texture becomes softer and more fragrant with time.
Yes, you can. Margarine will still make a soft and moist cake, but butter gives a richer flavor and aroma that makes this cake truly special.
Cracks usually happen if the oven temperature is too high or if the pan is placed too close to the top heat. Try baking on the middle rack and at the recommended temperature of 320°F (160°C).
Use room-temperature butter and eggs, don’t overmix the batter, and cover the cake with cling wrap while still warm. Letting it rest overnight enhances the moisture and creates that beautiful, shiny surface.
Yes! Slice the cooled cake and wrap each piece in cling wrap before freezing. When ready to enjoy, thaw at room temperature or warm slightly in the microwave for a few seconds.
Storage and Shelf Life
To keep your Thai Butter Cake moist and fresh, wrap it tightly with cling wrap and store it in the chiller. The cling wrap helps lock in moisture so the cake stays soft and buttery for days.
It can stay fresh for up to 5 days when stored in a sealed container. Before serving, let it sit at room temperature for a few minutes to bring back its natural tenderness.
More Asian Butter & Sponge Cakes
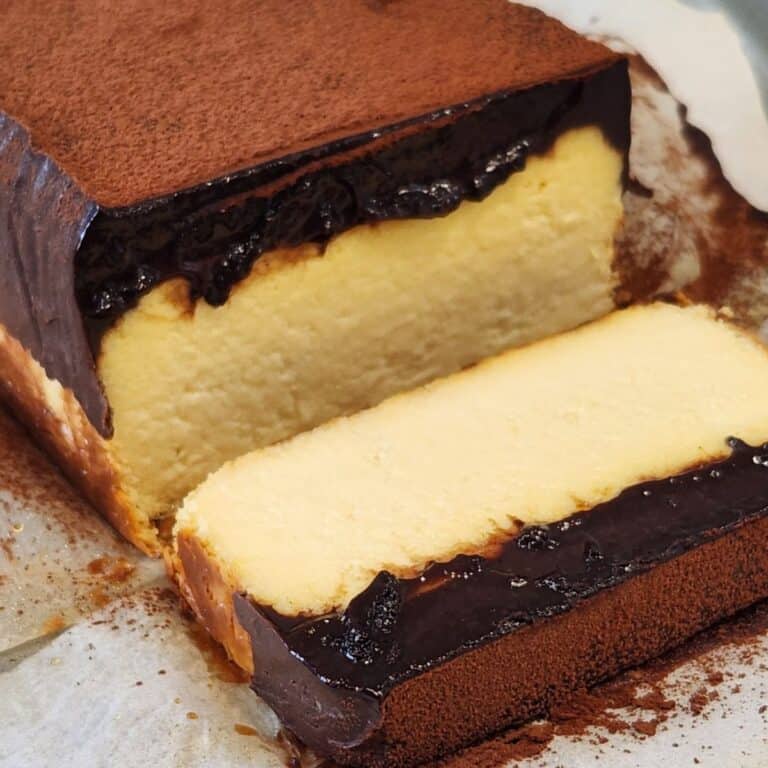

Royal Thai Butter Cake
Equipment
- 1 baking pan 6 inch square pan
Ingredients
- 168 gr unsalted butter
- 145 gr powdered sugar
- ¼ tsp salt
- 4 eggs
- 188 gr flour
- 5 gr baking powder
- 80 gr milk
- 1 tbsp lemon juice
- 1 tsp vanilla essence optional
Instructions
- Preheat the oven to 320°F (160°C). Prepare your baking pan by greasing it and lining both the bottom and sides with parchment paper. In a small glass, combine milk and lemon juice. Stir to make buttermilk, it will thicken slightly once mixed. Set aside.
- In a mixing bowl, add room-temperature butter and powdered sugar. Add a little vanilla essence if you like. Using a hand mixer, start on low speed and gradually increase to high. Beat for 3–5 minutes until the mixture is pale, light, and fluffy. Crack in the eggs one at a time, mixing on low speed after each addition.
- Once the eggs are incorporated, continue mixing briefly on medium speed. Sift in the flour and baking powder. Gently fold the dry ingredients with a spatula first to avoid scattering flour, then mix again with the mixer on low speed until just combined.
- Pour in the prepared buttermilk and mix briefly with the mixer until smooth. Transfer the batter to the prepared pan. Tap the pan gently on the table to release any air bubbles and smooth the surface. Use a skewer to swirl the top for an even texture.
- Place the pan on the middle rack of the preheated oven). Bake for 55–60 minutes, or until the top is golden brown and the cake feels firm. Test with a skewer, if it comes out clean, it’s done. Carefully remove the cake from the pan and transfer it to a tray. While still warm, cover it with cling wrap and let it rest overnight. This helps the surface stay shiny and the inside moist.
- The next day, remove the cling wrap and slice the cake to your liking. Enjoy your soft, buttery, and fragrant Thai Butter Cake!
Video
Notes
- Mix smartly – Use a spatula first to fold in dry ingredients like flour and sugar before using your hand mixer. This prevents the flour from scattering everywhere and keeps your kitchen mess-free.
- Line your pan well – Use double parchment paper (as shown in the video) to make it easier to lift the cake out once baked. It keeps the sides neat and prevents the bottom from sticking.
- Seal in the moisture – While the cake is still warm, cover it tightly with cling wrap and let it rest overnight. This simple trick keeps the surface glossy and the inside beautifully soft and moist.
- Be patient – The flavor and texture actually improve after resting. So resist cutting it too soon. You will get that perfect, buttery crumb!


I love the texture of this butter cake. So dense and moist, it really melts in your mouth! Try it, it is very delicious and very easy to make, too!
I just made this. Came out like rubber. I don’t think 5g baking powder is enough.
Hi, Ian! Thanks for trying my Thai Butter Cake! 😊 Sorry it turned out rubbery — that shouldn’t happen. This recipe has been tested many times in my kitchen (I even sold it to my customers!), so let’s troubleshoot together.
Did you beat the butter and sugar until pale and fluffy? That step helps create a light texture. Also, try not to overmix once the flour goes in — that can make the cake dense. The 5g baking powder is just right if the mixing is done correctly.
Hope that helps! 💛
I tried to give 5 stars but I couldn’t get the fifth star to light up! It came out wonderfully! Dense and moist! Loved that it wasn’t so sweet!
Hi Cindy, thank you so much for your kind words! I’m so happy it turned out dense and moist just the way it should 😊 And yes, I totally agree—less sweet makes it even more enjoyable! Thanks again for trying the recipe and taking the time to share your feedback 💛
This cake is easy to make (I used a 9×9) and it wasn’t as tall but it was delicious and has a great crumb and slightly sweet flavor. Would be great topped with some coconut whipped cream and fruit. It is very similar to a pound cake in taste but also kinda has a cornbread texture – delicious and pairs nicely with our Thai dinner!
*I also couldn’t get the 5th star to highlight so that’s why it’s only showing I gave it 4-stars.
Thank you so much for your review, Bianca! I’m so happy you enjoyed the cake. 😊
And thank you for letting me know about the rating issue. I’m currently looking into it and appreciate you bringing it to my attention. Happy baking!