
Classic Mini New York Cheese Cake
These Mini New York Cheese Cakes are everything you love about the classic—just smaller, cuter, and way easier to share (or not!). Creamy, tangy, and totally satisfying, they’re the perfect little treat for any occasion.

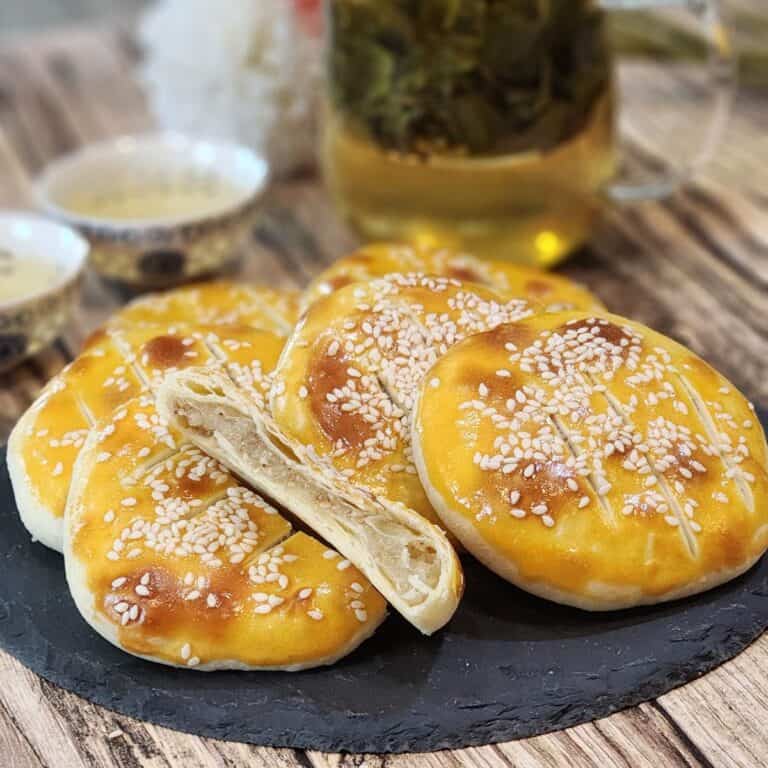
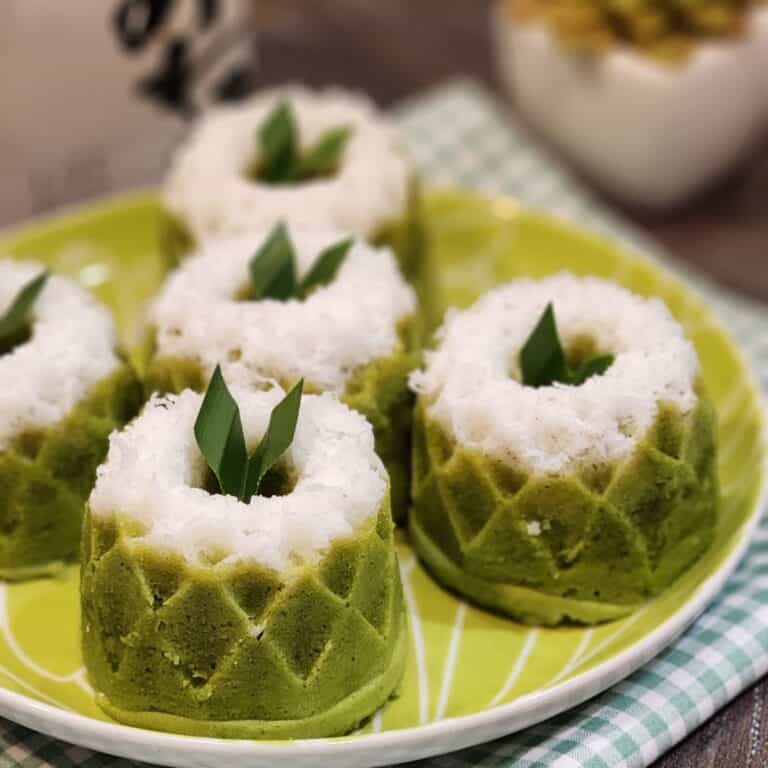
If you’ve been around my blog, you know I’m all about the minis—from mini burger buns to mini pandan bika ambon and mini sponge cakes. So it’s only right I add these adorable Mini New York Cheese Cakes to the lineup!
Baked in mini cheese cake pans, they’re rich, creamy, and perfectly portioned. If you’re a fan of my no-bake mango cheesecake, Hokkaido cheese tart, or even the bold flavors of burnt basque cheesecake and pandan burnt basque cheesecake, then you’re going to love these little treats.
Why You Will Love This Recipe
Recipe Ingredients

Ingredients to Note
Cream Cheese – This is the star of the show, so go for a high-quality brand. I recommend Philadelphia, Elle & Vire, or Anchor for the best flavor and texture. A smooth, full-fat cream cheese will give you that classic New York-style richness.
Whipping Cream – Whipping cream helps make the filling extra smooth and creamy. Opt for dairy whipping cream (not non-dairy or whipped topping) for the best results. The fat content adds richness without making the cheesecake feel heavy.
Graham Cracker Biscuits – You can use Graham Crackers or any biscuit you like for the crust. I suggest choosing one with little to no sugar, since the cheesecake itself already has a gentle sweetness. Digestive biscuits or sugar-free options also work well if you’re going for a lighter touch.
Variations
Once you’ve nailed the classic, it’s fun to play around with flavors! For a Southeast Asian twist, try adding a few drops of pandan extract to the batter—it gives the cheesecake a beautiful green hue and a fragrant, floral aroma.
Stir in a teaspoon of matcha powder for a gentle bitterness that pairs beautifully with the creamy texture. You can also swirl in fruit purée, add Oreo cookies, or even top with fresh berries for a pop of color. These mini cheese cakes may be small, but the flavor possibilities are endless!
Be sure to check out the full recipe and ingredient list below
How to Make Mini New York Cheese Cake

STEP 1. Lightly grease your mini cheese cake pans with butter. Crush the biscuits using a rolling pin and plastic bag, or blitz them in a food processor (Image 1). Melt the butter and pour it over the crushed biscuits (Images 2, 3). Mix well, then divide the mixture evenly between the pans. Use the back of a teaspoon to press and flatten the crumbs gently and evenly into the base (Image 4).

STEP 2. Place the crust-filled pans in the freezer while you prepare the filling (Image 5). In a mixing bowl, whisk together the cream cheese and sugar until soft and smooth (Image 6). Add vanilla powder, then whisk in the egg until fully incorporated (Image 7). Pour in the whipping cream and lemon juice, and mix until well blended (Image 8).

STEP 3. Add the cornstarch and whisk until the batter is smooth and lump-free (Images 9, 10). Scoop the batter into the chilled crusts. Place the mini pans inside a larger baking dish, and add about 1 cm of hot water to the outer pan for a water bath (Image 11). Bake in a preheated oven at 320°F (160°C) for about 60 minutes, or until the tops are lightly golden and the surface feels set to the touch (Image 12).
STEP 4. Remove from the oven and let the cheesecakes cool. Cover with cling wrap and refrigerate overnight to set completely. The next day, gently remove them from the pans, transfer to serving plates, and enjoy with a spoonful of strawberry jam (or your favorite topping)!
Pro Tips
- Soften the cream cheese – Let it sit at room temp for 10–15 minutes so it’s easier to mix with just a whisk and spatula.
- Use loose-bottom or springform pans – They make removal easier. Grease and line with parchment for smooth sides.
- No mini cheese cake pans? – Cupcake liners in a muffin tin work great too!
- Wrap the base with foil – Loose pans can leak during baking, so foil helps keep water out.
- Use a water bath – Place your mini pans in a larger pan with 1 cm of water. It keeps the cheesecakes moist and crack-free.
- Preheat the oven – Always heat to 160°C (320°F) at least 10–15 minutes before baking.
- Room-temp water is fine – No need for hot water. It’ll warm up in the oven and do the job just right.
Serving Suggestions
Top your mini cheesecake with a spoonful of strawberry jam, kaya jam, or a drizzle of condensed milk—whatever fits your mood. Pair it with Earl Grey milk tea or rose milk tea for the perfect little treat break.
FAQs about Mini New York Cheesecake
Yes! For this recipe, I use mini cheese cake pans, but you can also use cupcake liners and a muffin tin. Just be sure to line or grease your molds well to help release the cheesecakes easily.
Cracks usually happen due to high oven temperature or sudden temperature changes. To prevent this, bake at 320°F (160°C), use a water bath, and avoid over baking. Let the cheesecake cool gradually for best results.
The filling is naturally gluten-free since it only uses cornstarch. For a fully gluten-free version, use gluten-free biscuits for the crust.
They’re ready when the tops look slightly golden and the center feels firm but still has a slight wobble. Don’t worry—it’ll set completely once chilled!
Absolutely! You can add pandan extract, matcha powder, lemon zest, or even swirl in fruit purée to create fun variations without changing the creamy base texture.

Storage
Store the cheesecakes in an airtight container or cover them tightly with cling wrap to keep them from drying out. They’ll stay fresh in the fridge for up to 2 weeks—if they don’t disappear before then!
More Cream Cheese Recipes
- Cream Cheese Chiffon Cake
- Mango Sago with Cream Cheese
- Banana Pound Cake with Cream Cheese
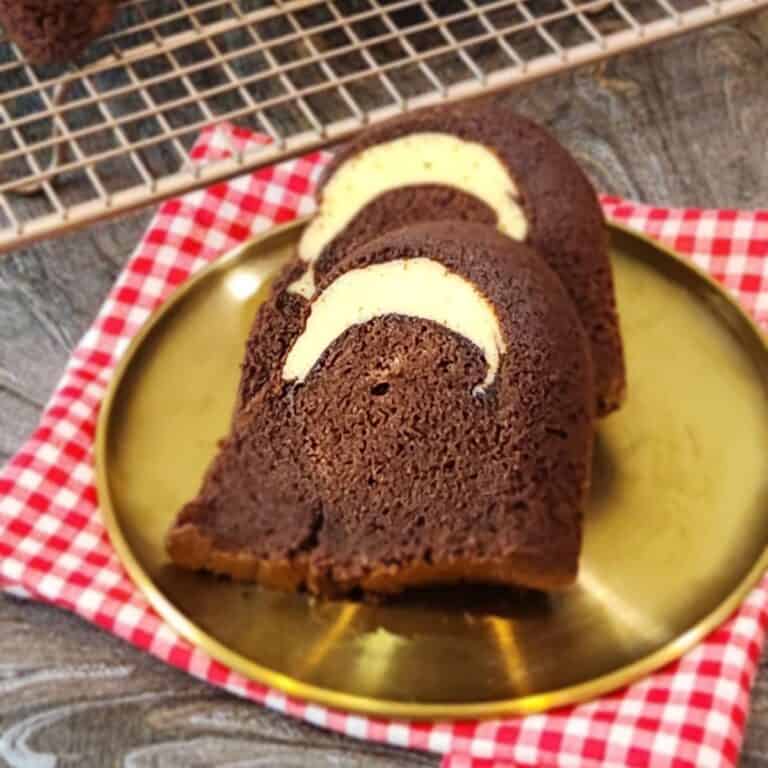
- Chocolate Cake with Cream Cheese


Mini New York Cheese Cake
Equipment
- 8 baking pan 2 inch baking pan
Ingredients
Crust
- 65 gr biscuits
- 23 gr unsalted butter
Cheese filling
- 210 gr cream cheese
- 50 gr sugar
- 1 egg
- 1½ tbsp cornstarch
- 90 gr whipping cream
- 1 tbsp lemon
- ½ tsp vanilla extract
Instructions
- Lightly grease your mini cheese cake pans with butter. Crush the biscuits using a rolling pin and plastic bag, or blitz them in a food processor (Image 1). Melt the butter and pour it over the crushed biscuits (Images 2, 3). Mix well, then divide the mixture evenly between the pans. Use the back of a teaspoon to press and flatten the crumbs gently and evenly into the base (Image 4).
- Place the crust-filled pans in the freezer while you prepare the filling (Image 5). In a mixing bowl, whisk together the cream cheese and sugar until soft and smooth (Image 6). Add vanilla powder, then whisk in the egg until fully incorporated (Image 7). Pour in the whipping cream and lemon juice, and mix until well blended (Image 8).
- Add the cornstarch and whisk until the batter is smooth and lump-free (Images 9, 10). Scoop the batter into the chilled crusts. Place the mini pans inside a larger baking dish, and add about 1 cm of hot water to the outer pan for a water bath (Image 11). Bake in a preheated oven at 320°F (160°C) for about 60 minutes, or until the tops are lightly golden and the surface feels set to the touch (Image 12).
- Remove from the oven and let the cheesecakes cool. Cover with cling wrap and refrigerate overnight to set completely. The next day, gently remove them from the pans, transfer to serving plates, and enjoy with a spoonful of strawberry jam (or your favorite topping)!
Video
Notes
- Soften the cream cheese – Let it sit at room temp for 10–15 minutes so it’s easier to mix with just a whisk and spatula.
- Use loose-bottom or springform pans – They make removal easier. Grease and line with parchment for smooth sides.
- No mini cheese cake pans? – Cupcake liners in a muffin tin work great too!
- Wrap the base with foil – Loose pans can leak during baking, so foil helps keep water out.
- Use a water bath – Place your mini pans in a larger pan with 1 cm of water. It keeps the cheesecakes moist and crack-free.
- Preheat the oven – Always heat to 160°C (320°F) at least 10–15 minutes before baking.
- Room-temp water is fine – No need for hot water. It’ll warm up in the oven and do the job just right.


I love this mini New York cheesecake recipe. I can make it into a few pans for my friends when I have a small gathering at home.